Category Archives: Cooking

My (Somewhat Edible) Apple Pie


c-10-113
I wanted to take a better shot but the kids were pushing me. “Papa! You always take pictures! Haven’t you taken enough?!”


Well, throwing together my (somewhat edible) apple pie from scratch has become a piece of cake.  Or is it pie?

While my culinary and photographic skills pale in comparison to many others – like madlyinlovewithlife, for example – I’ve been asked about my recipe so here goes.

BTW, most of this is from Cook’s Illustrated and Cathy Thomas Cooks.

The Crust

Yes, I shuddered myself to death the first time I tried it.  When I baked my first one, it ended up looking more like marshmallows lined with the Pillsbury dough boy’s inflated life jacket but it, well, tasted OK.

But since then, I’ve lost my fear of it and since my counter-top skills are marginal, I cheat.

While there is a recipe for a two-crust pie, my Cuisinart food processor gets overloaded with the amount of the ingredients needed.  If you think California shakes during an earthquake, you haven’t experienced standing in my kitchen when the food processor chokes trying to work the ingredients which are (for each crust):

3/4 cup unbleached flour (I used Arthur’s) plus
1/2 cup held for a second add
1 tbsp sugar
1/2 tsp table salt
6 tbsp of COLD unsalted butter sliced into six pieces
1/4 COLD Crisco all-vegetable shortening in 2 – 3 clumps
2 tbsp COLD vodka
2 tbsp COLD water

Add 3/4 cup flour, sugar and salt to food processor; pulse for a second or two to combine.  Add the still cold butter and shortening, working quickly so as to keep them from softening:

16691430755_719cdac34a_kProcess for up to ten seconds; I like to do it in several pulses.  It should look like cottage cheese curds with no uncoated flour.  Scrape sides and bottom with spatula.  Add remaining 1/2 cup flour and pulse up to six times.  Empty into large mixing bowl.

Sprinkle in about 1/2 of the cold water/vodka, spreading it evenly.  Fold over the dough mixture a bit then add remaining liquid.  Keep folding mixture over until it pretty much forms a ball.  It should be pretty tacky.  Wrap up in plastic wrap and form it quickly into a disc about 4+” wide.  Refrigerate.

Repeat for second batch.  Chill for about an hour.

16504035970_1850700315_k
Wrapped up dough for crusts.

Pie Filling

For the pie filling, I use my friend and bona-fide chef Cathy Thomas Cooks tried and true recipe but with a tablespoon of lemon juice thrown in:

1/2 cup sugar
3 tablespoons all-purpose flour
1 tablespoon ground cinnamon
1 tbsp (or to your liking) lemon juice
Pinch salt
Pinch of ground nutmeg

As in her recipe, I use five of those luscious, good-sized Granny Smiths you can buy at Costco.  If you buy them at a supermarket, you may have to use a bit more than six.

BUT!

Since I feel more at home with a screwdriver instead of a knife (and because I cherish having ten fingers), I take the man’s way out of peeling.  Voila!:

Frankly, if you make more than a few apple pies a year, you’d be crazy not to have one. LOL

Anyways, after peeling, core then cut into quarters lengthwise; then, cut into 1/4″ thick slices.  Place into LARGE, deep mixing bowl.  After doing all five, pour in lemon juice and filling mix, using spatula to coat.  (Note: per Cook’s Illustrated, the browning of the cut apple slices is harmless for this short period.)  Set aside and quickly before your own Little Cake Boss sticks a finger into the bowl to steal a lick.

16071517943_9875fa2fea_k

If you’re real good at peeling and cutting, you can do this after you roll out the dough and while it is being refrigerated.

I’m not. 🙂

Rolling the Dough

The fun part – and where I get to cheat!  I got the idea from Cook’s Illustrated and modified it a bit.

If the dough has been in the refer a while, you may need to let it rest for a bit; you’ll never be able to roll it out.  But don’t wait too long.  It needs to be cold.

Now the cheating.  Instead of your bare counter top, lay out a sheet of parchment paper, about 15″ long.  Dust liberally with flour.  Place one disc on center, again dusting the top generously, then cover with a similar length of plastic wrap.

16069136274_5c2d1564dd_kTake your aggressions out – nicely.  Evenly pound the disc a bit with your roller to get it started:

16665510286_ef0633a268_k
Evenly pound disc to get it started.

While it may take a little practice, quickly roll the dough out to a little more than 12″ in diameter (Hint: the plastic wrap is just a 1/8″ shy of 12″).  I do like the tapered maple wood roller recommended by Cook’s Illustrated.  The dough should look like this.. Well, yours will likely look better:

16690421422_d0806f3e9e_k

Place on flat baking sheet and put in refrigerator.  Repeat for other crust.

Now turn on your oven to at least 450F (My Breville only goes up to 450F).  Put in a baking sheet to preheat it.  It helps brown the bottom of the crust in the Pyrex pie dish.

Also, whisk up one egg white for a wash.

Putting the Pie Together

You gotta work fast but this is the fun part.

The fruit of your labor.  I know.  Bad pun.

I use the parchment paper/plastic wrap approach as I can never flip the dough onto my roller with the scraper without it falling apart and needing dough surgery…  So…  I use the plastic wrap to flip the dough onto my roller like so:

16484182007_f143cd7350_o
Dough flipped onto the roller. Easy!

Then just lay it onto your Pyrex pie dish.  Gently press down on the dough onto the pie dish (especially the corners and sides) while supporting the outside portion of the dough with your other hand.  REFRIGERATE once again for at least ten minutes to keep the dough chilled.  Otherwise, it becomes a tacky mess.

After chilling, remove the dish from the fridge then pour in the apple slices.  You will need to use your fingers to move the slices around to make a nice mound.

16069152964_f151c4125d_kRemove the other refrigerated dough from the fridge and do the same thing to lay it across the roller…but laying it onto the filling is an adventure each time.

Working quickly, trim the excess dough off the pie, leaving maybe 3/4″ all around.  Roll the edges under each other while pressing down against the lip of the pie dish.  Continue around the circumference.

I’m definitely not good at it either but with your right thumb and index finger forming a V, press the dough with your left index finger into the V to “flute” it.  I think that’s what you call it.

You’re almost done!  Brush on the egg white onto the top and the edges.  Dust with sugar if you like then make four slits radiating out from the center.

16665527126_56cce91891_k

Put the pie in on top of the preheated cookie sheet then turn down the temp to 425F.  Turn the pie after 35 minutes then lower the temp down to 375F.  Important!

Bake for an additional 30 to 35 minutes or until browned. Set onto cooling rack.

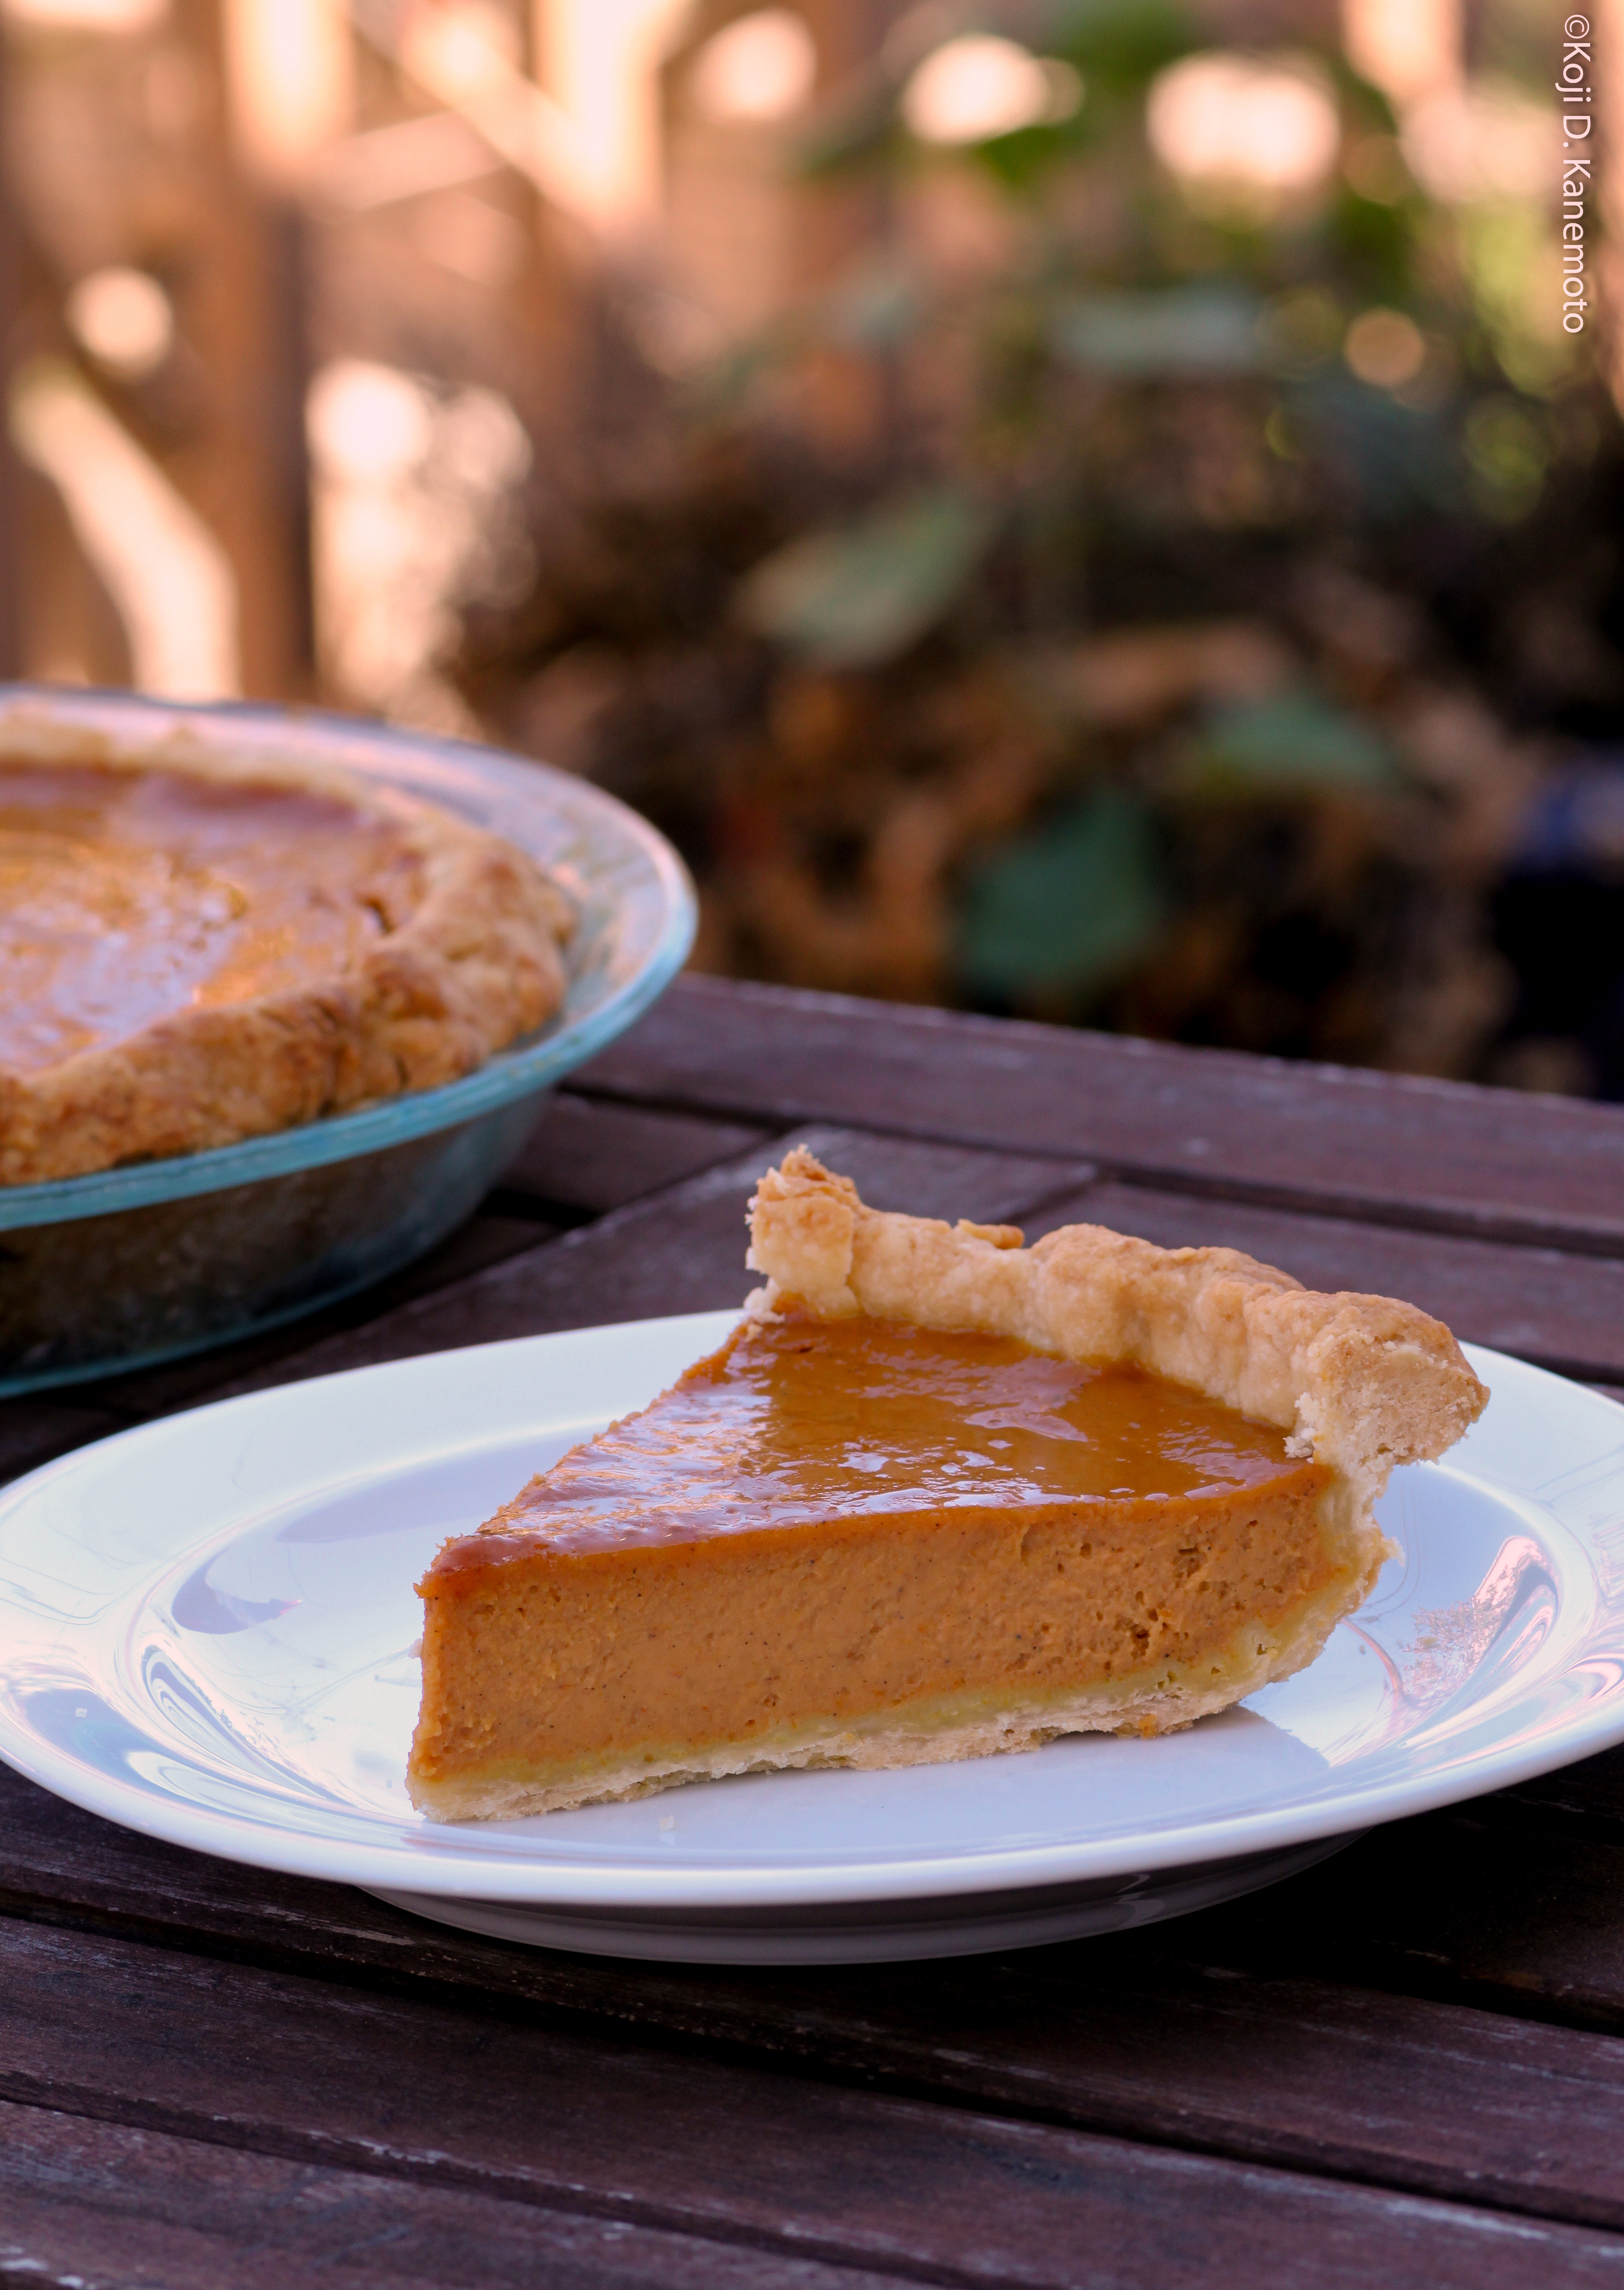
Can you hear it a-sizzlin’?  From one of my earlier pies:

Cool for at least several hours and enjoy!

Communicating


image

This is how my kids communicate with me. It was here when I woke up but they are both still snoring away.

At least its better than a text…?

She’s Killing Me #4


c-10-95
Taken in 2009

Well, I got in the last word tonight.

Kinda.

After we came back from her dance class tonight, I began to clean up the mess in the kitchen from making dinner. I was taking a pan off the range.

Little Cake Boss: “Papa, the stove top needs to get cleaned.”

Me: ………Silence… while I raise my eyebrows and stare at her… You know, the YOU clean it stare.

Little Cake Boss: She turns around and quickly prances away, doing some kind of ballet thingy.

Me: PricelessI thought to myself. I got the last word in for once

until I realized she left, leaving me to clean the stove top.

Darn that girl.  She got the last word in again.

CPK’s Pesto Creme Penne Pasta


penne
Waited too long to take a picture – the kids were hungry.

For many months now, my two littlest ones have been asking me “to make” California Pizza Kitchen’s (CPK) Pesto Creme Penne Pasta.

Although I’ve seen my Little Cake Boss eat it a couple of times, I never really looked at it; besides, the dimly lit interior rivals that of the Pirates of the Caribbean ride at Disneyland.  So the first time I made it, it was not what they expected; it was just plain ol’ pesto…but they ate it.  They always eat what I make…when they like it.

For my Little Cake Boss’ 12th birthday earlier this month, I took her friends to CPK.  This time, I looked at it real good and had a sample.  Well, let me tell you – “Pesto” should not have been the first word in this dish’s culinary description. 🙂

IMG_9875 copy
The redness fades quickly… but why the city requires mulch for cactus and succulents is beyond reason. My back and knees wondered why, too.

Red Spike Succulent

Well, in between the birthday and the pasta, there was:

  1. Changing out my green lawn to a drought-tolerant yard (above),
  2. Trying to write a novel while investigating new facts about my Uncle Suetaro’s death in the Philippines in 1945,
  3. A paranoid aunt freaking out (big time) about a new cell phone she asked for,
  4. Big Bear Lake, and,
  5. A really messed up oil change at Walmart (which they promptly took care of),

but I dared to try this dish again.

I did start out with my pesto but for this attempt, I just cut down the amounts and used my Cuisinart Mini Coffee Grinder to process it.

The base was a variant of my Alfredo sauce:

  • Some olive oil
  • One garlic clove, pressed
  • Maybe a 1/4 to a 1/3 stick butter
  • About 2/3rds cup heavy cream

And

  • Maybe two BIG tablespoons of the pesto
  • Maybe a third to a half cup (?) of sun dried tomatoes
  • Half cup of shredded Parmesan Reggiano
  • Salt, pepper
  • Penne, al dente

Heated small sauce pan, dribbled in some olive oil then quickly warmed through the pressed garlic.  After maybe ten seconds (don’t want to burn the garlic), tossed in the butter until it melted, then added the cream.  Brought it up to good simmer (don’t boil), stirring often.  Lowered heat and continued on low simmer for ten minutes, stirring frequently.

Threw in the sun dried tomatoes and after a couple of minutes, added the pesto, Parmesan cheese, salt/pepper to taste, then poured it over the penne in a stainless steel bowl.  Mixed it up then sprinkled the plated pasta with more Parmesan.

Did the kids eat it?

Yes.

Did they think it was like CPK’s?

Nope.  They thought it was better.

Well, actually, as their provider of food, shelter and flu shots, I encouraged them to think that.

Green Eggs and Ham… Not


So tonight, the kiddies asked if I could make something new.  Something different.

Not my Fettuccine Alfredo nor my grilled chicken with lemon and chive pan sauce nor my szechuan tofu…nor Hamburger Helper.

Nor green eggs and ham – but it was close.

They asked for bowtie pasta with (classic) pesto.

Like the one they ate at California Pizza Kitchen.

Egads.

IMG_8788

____________________________

So Cook’s Illustrated came to my rescue again.  They had a recipe AND even a video!

Now…if I could only follow the instructions.  And I was determined NOT to leave a bag of groceries at the check out line like my blogging bud Jan Morrill did when she made pesto. 🙂

____________________________

IMG_4868

Per Cook’s Illustrated’s recipe, the ingredients were simple:

2 “packed” cups fresh basil

2 tbsp “packed” flat leaf parsley (i.e., Italian parsley)

1/4 cup pine nuts (raw)

3 (skewered) garlic

7 tbsp extra virgin olive oil

1/4 cup grated Parmesan Reggiano

(The trouble here in SoCal is the drought.  EVERYTHING is getting expensive.  Fresh pine nuts were $8.99 for a small carton!)

Also, note the type of parsley:

parsley

It does taste different and with all that garlic, I felt the parsley was important. 🙂

Boil the water but do NOT salt yet.  Skewer the three cloves of garlic and submerge in the boiling water for about 30 seconds then plunge into an ice bath.  Mince but it needn’t be too fine as it will go into the processor.

After generously salting the boiling water, start to boil the pasta while keeping a measuring cup in the colander; you need to remember to reserve about 1/2 cup of the water.

After toasting the pine nuts in a skillet over medium low heat for about 3 to 4 minutes, everything went into the food processor except for the Parmesan and the water.  Scrape down the sides with a spatula as necessary until you get a relatively smooth mixture.  You should still be able to make out small pieces of the basil.  (Oh, you had to put the basil and parsley into a Ziploc and pound it maybe a dozen times to bruise the leaves before throwing them into the processor.  Doing so helps release the savory oils.)  Salt as necessary.

This is what it should look like:

IMG_8785

The rest is easy.  When your pasta is al dente, reserve about 1/2 cup.  Add about 1/4 cup of the reserved water into the pesto along with the Parmesan.  Toss with the pasta and you’re done!


Fresh Tuna and Pyrex Pie Plates


A good number of pies have come out of my oven during the past six months to be taken to parties and such.  Even to a cigar lounge.  Fortunately, there have been no claims of food poisoning – so far.

But I ended up buying a few more Pyrex pie plates (They work great provided you place them on a preheated cookie sheet – helps brown the bottom.).  But what to do with them when pies are on hold?  They just lay in my pots and pan drawers.

Well, my vetunary good friend from the 1980’s, Tom G., had a “fishy” time last weekend.  Tom is an avid fisherman and got shot at in Viet Nam.  He was drafted and did his duty as an American (unlike Clinton).  His dad saw combat as a gunner in a B-24 Liberator during WWII.  His family has indeed served the US of A.

Anyway, Tom went out on a fishing boat and everyone on board hooked tuna like crazy… except for Tom.  Just kidding!  He snagged his limit of five so we were recipients of fresh tuna!

What does fresh tuna have to do with pie plates?

Lots.

As my kids “whine” about eating, i.e., “Pasta again, Papa?”, I decided to try something different – and easy… and hopefully, the kids would eat it.  That’s where the pie plates come in.

I decided to try the “Garlic and Ginger BBQ Tuna”.  Couldn’t go wrong, I thought, as I know the kids’ll eat (almost) anything if it has soy sauce and garlic in it.

The marinade was simple:

  1. 2 tbsp soy sauce (I have a ton of that)
  2. 2 tbsp Japanese rice vinegar (I have a ton of that, too)
  3. 1 tbsp sesame seed oil
  4. Freshly rated ginger (Use the side of a spoon to scrape off the outside.)
  5. Minced garlic
  6. Chopped green onion
  7. Pepper (I used the Japanese kind)
IMG_3943-002
Ready to get grilled!

All went into a Pyrex pie plate (which I have a ton of) and the tuna was marinated for about 30 minutes in the fridge (turned after 15 minutes).  Onto a dilapidated Weber BBQ grill over medium heat they went, four minutes each side (I had to slightly over-grill them as my son Jack wouldn’t eat it if he saw just a touch of red). Three minutes may be sufficient, too.

They turned out good!

IMG_3949-001-1So if you have an unused Pyrex pie plate and a great friend like Tom, try it!

buru tunaThanks, Tom!

Pumpkin Pie from Scratch


IMG_9680-10
My pumpkin pie.

Its from scratch.  Crust too, as you can see.  It looks like the world’s biggest churro’s surrounding the pie.

It was a lot of work outside of the crust.  Pumpkin puree, candied yams, syrup, heavy cream milk, eggs, sugar, nutmeg, salt and…grated ginger.

But my little Cake Boss said it “tasted better than the supermarket’s pumpkin pie”.

Does that mean I can keep my job?

Pixies!


IMG_8277-1

It’s Ojai Pixie Tangerine season, folks!

Chef Cathy Thomas (from whom some of my recipes come from) turned me onto these delightfully yummy tangerines.  They are grown in Ojai, California; we are right after the start of the season which may run into late May or early June.

These savory Pixies are:

•  Easy to peel

•  Sweet

•  Juicy – did I say JUICY?

•  Seedless

•  And my kids love them

Chefs use them in their salads when it calls for tangerines.  They are that good.

I obtain mine from Melissa’s Produce, four pounds for about $18.  They can be shipped anywhere and will arrive fresh.

Ojai Pixie Tangerines

They are highly recommended!


Hamburgers and a ’63 Merc


MM burger
Marilyn Monroe eating an old-fashioned hamburger at a drive-in hamburger stand. Photo by Philippe Halsman.

Nearly all Americans would agree that hamburgers are the All-American icon.  A simple grilled ground beef patty, salted and peppered, slathered with mayo, mustard and ketchup then sandwiched in a plain bun.

At least that’s how I know them.  Oh, hold the pickles, please.

Now, us kids that grew up watching “Bewitched” and “I Dream of Jeannie” have given birth to a generation that has taken a simple thing and made them into $15 gourmet, fancied-up, mushroom-covered (expensive) cuisine.  Do you think I like Elizabeth Montgomery and Barbara Eden?  Drool…

But I don’t know if I like the “change”.

Back to this in a minute, folks.

The fancy hamburgers – not the drool.

___________________________

Dad had always owned Fords when he could finally afford getting a car.  I guess that’s where I get my Ford passion from.

July 5, 1955
Aunt Eiko holding me in front of my dad’s Ford Consul automobile. If you are reading my past stories about WWII, you will know that only the occupying Americans could afford to buy a car. Her husband was awarded the Congressional Gold Medal.  Occupied Japan, Tokyo, July 5, 1955.
Enoshima Beach, Tokyo - April 1957
My dad’s ’57 Ford Fairlane parked on Enoshima Beach, Tokyo. I’m thinking it was a dark green. April 1957.

After leaving Japan for the last time  in the late ‘50’s after the Occupation ended, my pop bought his first new car stateside in 1963 – he was 44 years old.  It was a two door Cascade Blue 1963 Mercury Meteor custom hardtop; a king of obscurity to say the least, but to a kid of about ten, it was Flash Gordon’s rocket ship.  Unlike Hillary, it was easy to love this car.

1964 or 1965 / Dad's new 1963 Mercury Meteor
On a road trip to Chicago in 1964. I’m still holding onto my Fujipet camera with dad’s 1963 Mercury Meteor behind us. This may have been in Utah.

Don’t get me wrong.  It wouldn’t get a choice spot if valet parked.  I say wouldn’t as my old man couldn’t afford valet, let alone a family dinner out.  But to me, the rocket ship had a chrome finish AM push-button radio – turn the dial on the right, find a station, pull out a button, then push it back in to set it.  Trouble is I did it a dozen times each time I got into the car.  But all I cared about was KFI 640 AM, the Dodgers’ station.  The golden voice of Vin Scully… and Fairly, Gilliam, Wills and I forget who played third.  They were World Series champs that year.

Six adults could get into this rocket ship with room to spare – eight of us little Japanese folks and a dog.  The cargo hold in back swallowed up my Sears JC Higgins bike in one gulp with enough space leftover for Frank Howard.  (I saw him hit the scoreboard in right field with a home run.)

Unless my aging grey matter is dissolving at warp speed (maybe it is), there were ash trays with shiny covers in each armrest…and this was for the back seats.  It was a favorite depository for my Bazooka chewing gum but I kept the wax covered cartoon that came with it.

Pop kept it for quite some time.  I passed my driver’s license test in it on my 16th birthday.  I got a 96 only because she claimed I never looked in the rear view mirror.  Poppy cock.  I always look in the rear view mirror for cops.  Even back then.

And as it was the only car we had back then, I also drove my date to one of my senior proms in it (I went to two.).  And the answer is, “No,” if anyone was wondering…but I’m sure she was disappointed.  Well, maybe not.

The four-wheel drum brakes were spectacular…not.  Instead of rubber meets the road, it was like rubber met the world’s supply of Vaseline while fighting the pull to the left… and this was at 25 mph.  Steering?  An oil tanker’s captain would do well.  Turn the wheel a lot; see the slight change in direction a few seconds later.  Pat Brady and Nellybelle turned better – and that was out in the desert on sand.

meteor engine
The Mercury Meteor’s 260 cid V-8.

I overhauled the epoch 164 hp 260 cid V8 sometime around 1976 in our garage.  At 13 years of age, she had become an old girl.  She had become a V6, meaning it had lost compression in two cylinders.  I remember setting zero lash, then three-quarters turn of the ratchet for the hydraulic lifters during the overhaul.  The distributor was the biggest headache, of all things.  It was like extracting an impacted molar and only after using copious amounts of Liquid Wrench in place of laughing gas did it finally come out.  “Older” Blue Oval guys know what I’m describing.

___________________________

Back to today’s elegant hamburgers and change.

Instead of the push-pull AM radio, my youngest son – who was seven when I bought it – similarly discovered my ’08 Mustang GT had a “My Color” dashboard light feature.  Now I know how my pop felt as my son forced me to experience every color of the rainbow while driving at night – every time.  It was like being at an all-night disco club.

Bazooka bubble gum and ashtrays are no more but treasure hunters will be pleased after exploring the map pockets.  No disappointments there.  I promise… especially after my little Cake Boss had sat in the back.  Latex gloves are highly recommended before exploring.

Overhaul it?  After all, my GT’s got a 281 V8, only twenty-one more cubes than my pop’s…but it pumps out a magnificent 505 hp thanks to her Roush supercharger and Carmen pulley.  Hell, I’m afraid to change spark plugs.  Who would imagine in 1963 there would be a TSB on just how to R&R spark plugs?

roush blower
My Roush supercharger and gizmos.

And unlike my pop’s ’63 Merc which ran on simple mechanical principles (but threw physics principles out the window for the so-called braking), the computing power in my Mustang would cause Einstein to strike a pose like Captain Morgan.

And today’s stunning braking power is the true reason for seat belts – it compassionately keeps your head from being continually used to redesign the windshield.  The aftermarket Wilwood six-piston disc brakes I installed with slotted and cross-drilled rotors exacerbates the stop-on-a-dime tendencies… which is a good thing.

270768_1922679229805_1326818011_31876806_6107098_n
The Wilwood Six Piston disc brakes on my Mustang.

____________________________

So it appears the delicious, basic hamburger of the 1960’s has been brought into the 21st Century.  Kids that watched Elizabeth Montgomery and Barbara Eden fooled with the wonderfully simple ground beef and bread formula to give us today’s foodie gourmet burger…and we can still listen to Vinny’s golden voice, to boot.  Glorious.

And well, with 505 hp at the crank instead of 164 hp, it’s hard to complain.  Neither do my kids when they hear the whine of my Roush supercharger.  They like to scream.  But it’s a shame my pop’s ’63 Mercury Meteor won’t be swept into anyone’s museum.

__________________________

I guess technology has its benefits.

I’ll take a gourmet burger in the end after all.

Pass the Heinz ketchup, please.

At least that hasn’t changed.

Busy Baker


IMG_8263-1
My Triple-Chocolate Espresso Brownies and Classic Pound Cake from scratch.

For the first time, this former mechanic and amateur baker attempted TWO desserts within a four hour window.

Success!

Well, at least everyone who ate them are still alive and kicking…so far.