Well, my little Cake Boss asked for me, her servant, to make her some brownies. And since I had all the ingredients at the house, I decided to do it from scratch…again.
Wasn’t someone supposed to tell me to stop this non-sense?
____________________________
Sugar, salt and unbleached flour are not shown. As a side note, I much prefer Hershey’s unsweetened chocolate. It’s a lousy photo but that’s a foil-lined baking pan in the background.
Per my yes-yes beacon, Cook’s Illustrated, the classic brownie should be moist, not “goopy” or dry. The chocolate flavor should most of all be decadent – especially for my little Cake Boss. Gotta raise her right, you know.
Like avoiding the supermarket pre-mixed who-the-heck-knows-what’s-in-it stuff.
Well… it’s really ‘cuz I wanted to avoid the uncomfortable situation experienced after baking the little Cake Boss a classic white double-layer birthday cake. The little Cake Boss almost fired me because I didn’t do as she told me to.
_________________________
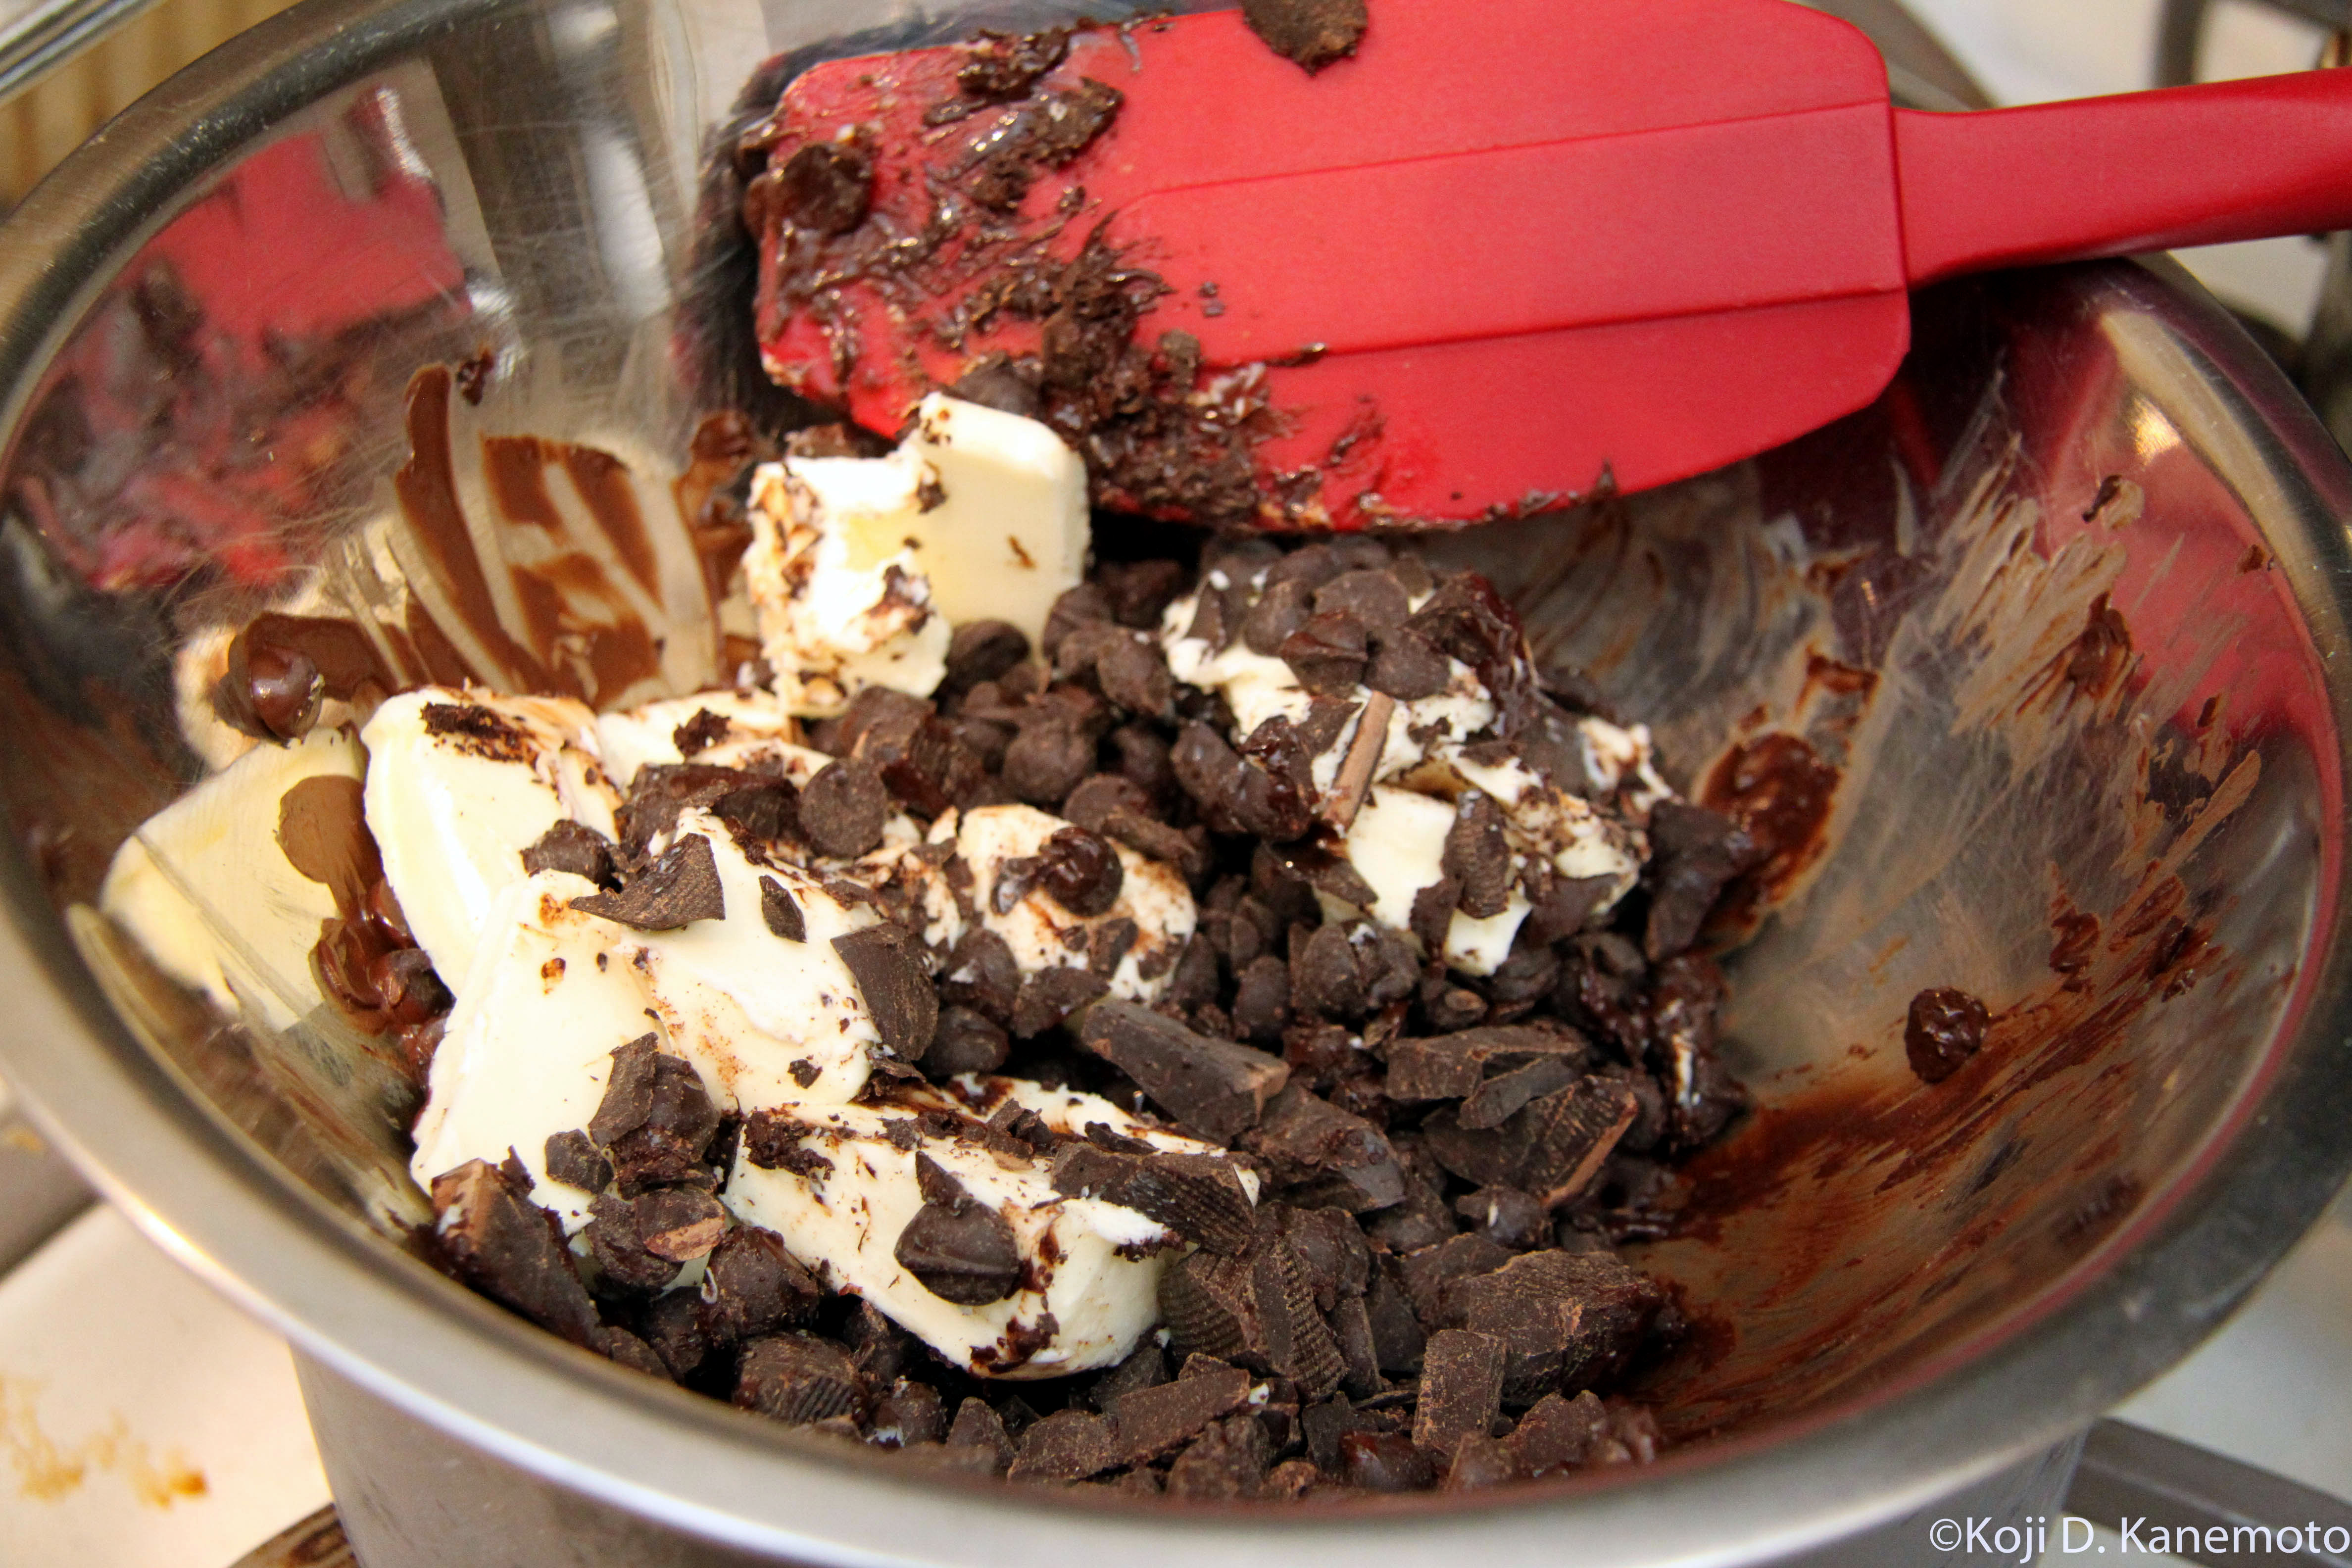
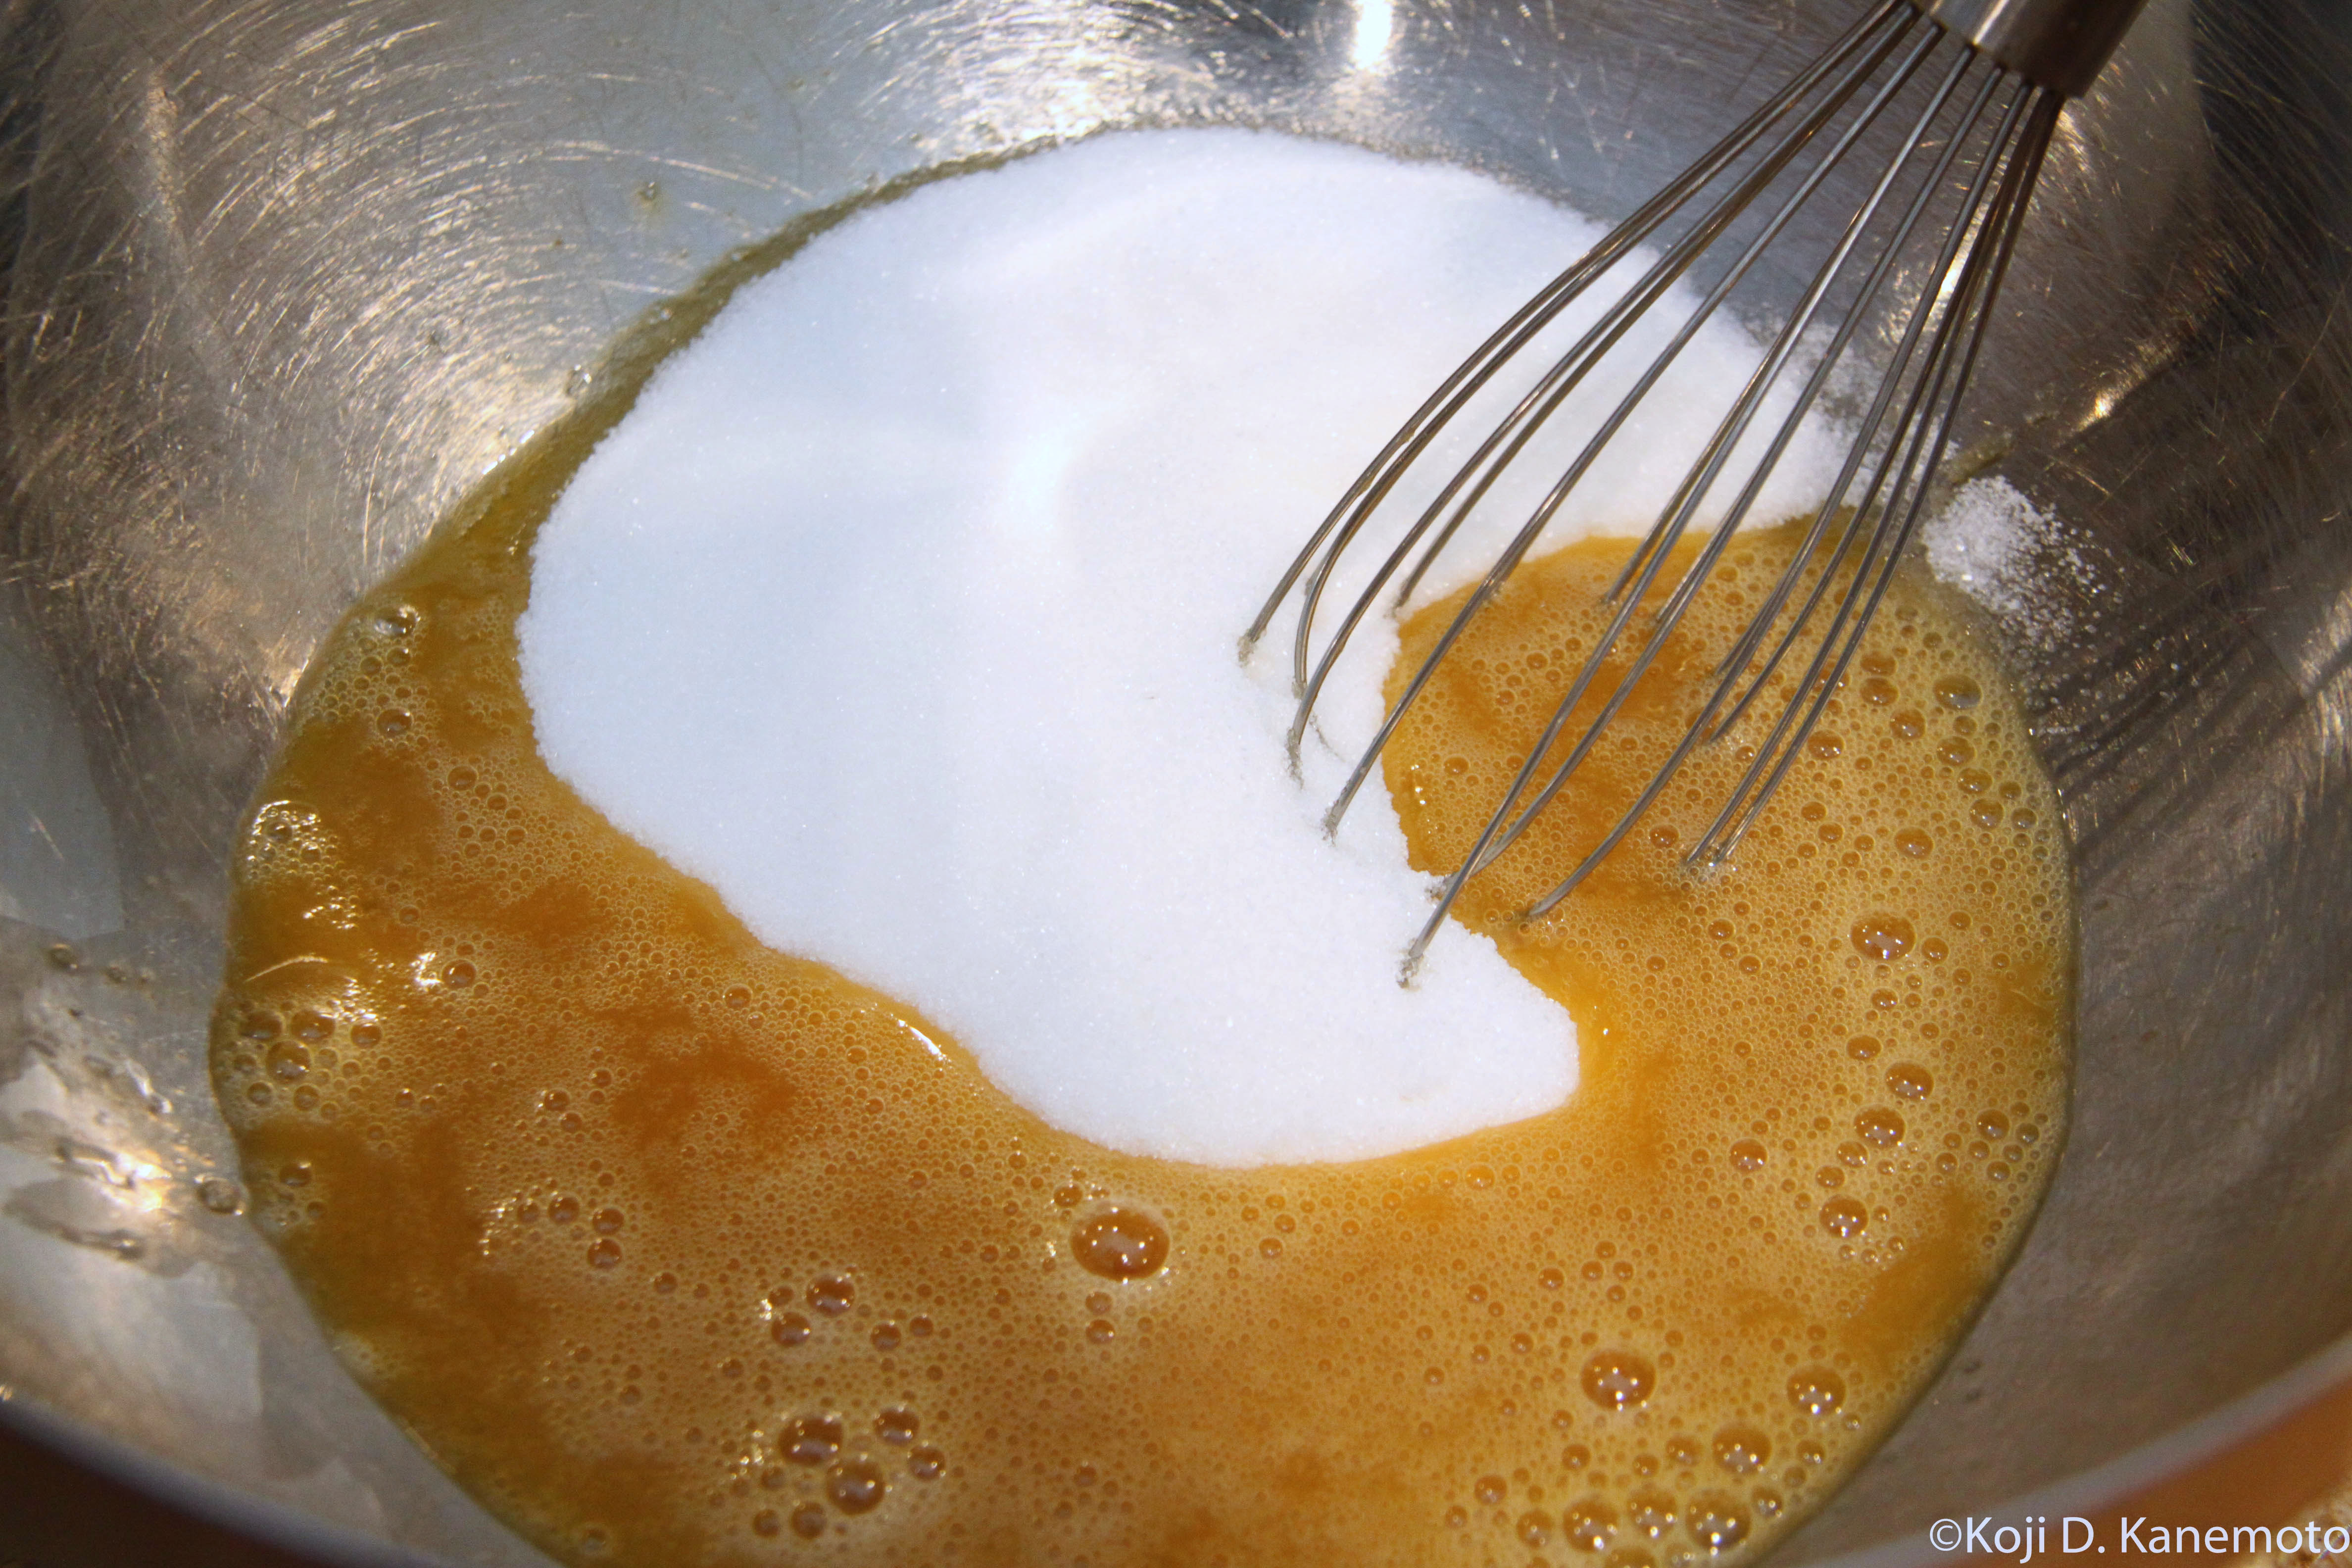
Some of the easy steps:
Melting the chocolates and butter over barely simmering water. Gotta keep stirring! Just like my homemade chocolate truffles.After it all melts, whisk in the cocoa and espresso powder. Set aside.Whisk eggs, sugar, vanilla extract, and salt. You then whisk while pouring in the still warm chocolate yumminess. Fold in the flour and pour into a foil-lined baking pan. Smooth over as best possible then bake at 350 degrees for about 35 minutes.Don’t overbake! I’ve learned my oven runs on the hot side and items need to be rotated. It’s perfectly done if it domes slightly and some sticky brownie crumbs stick to a toothpick. Very logical (unlike the illogical “Common Core Mathematics” now being taught in elementary schools).
After cooling for two hours, lift out the brownies with the foil liner and pig out!
__________________________
Actually, this first batch of homemade “triple-chocolate espresso brownies” came out REAL good as the little Cake Boss came back for a second piece.
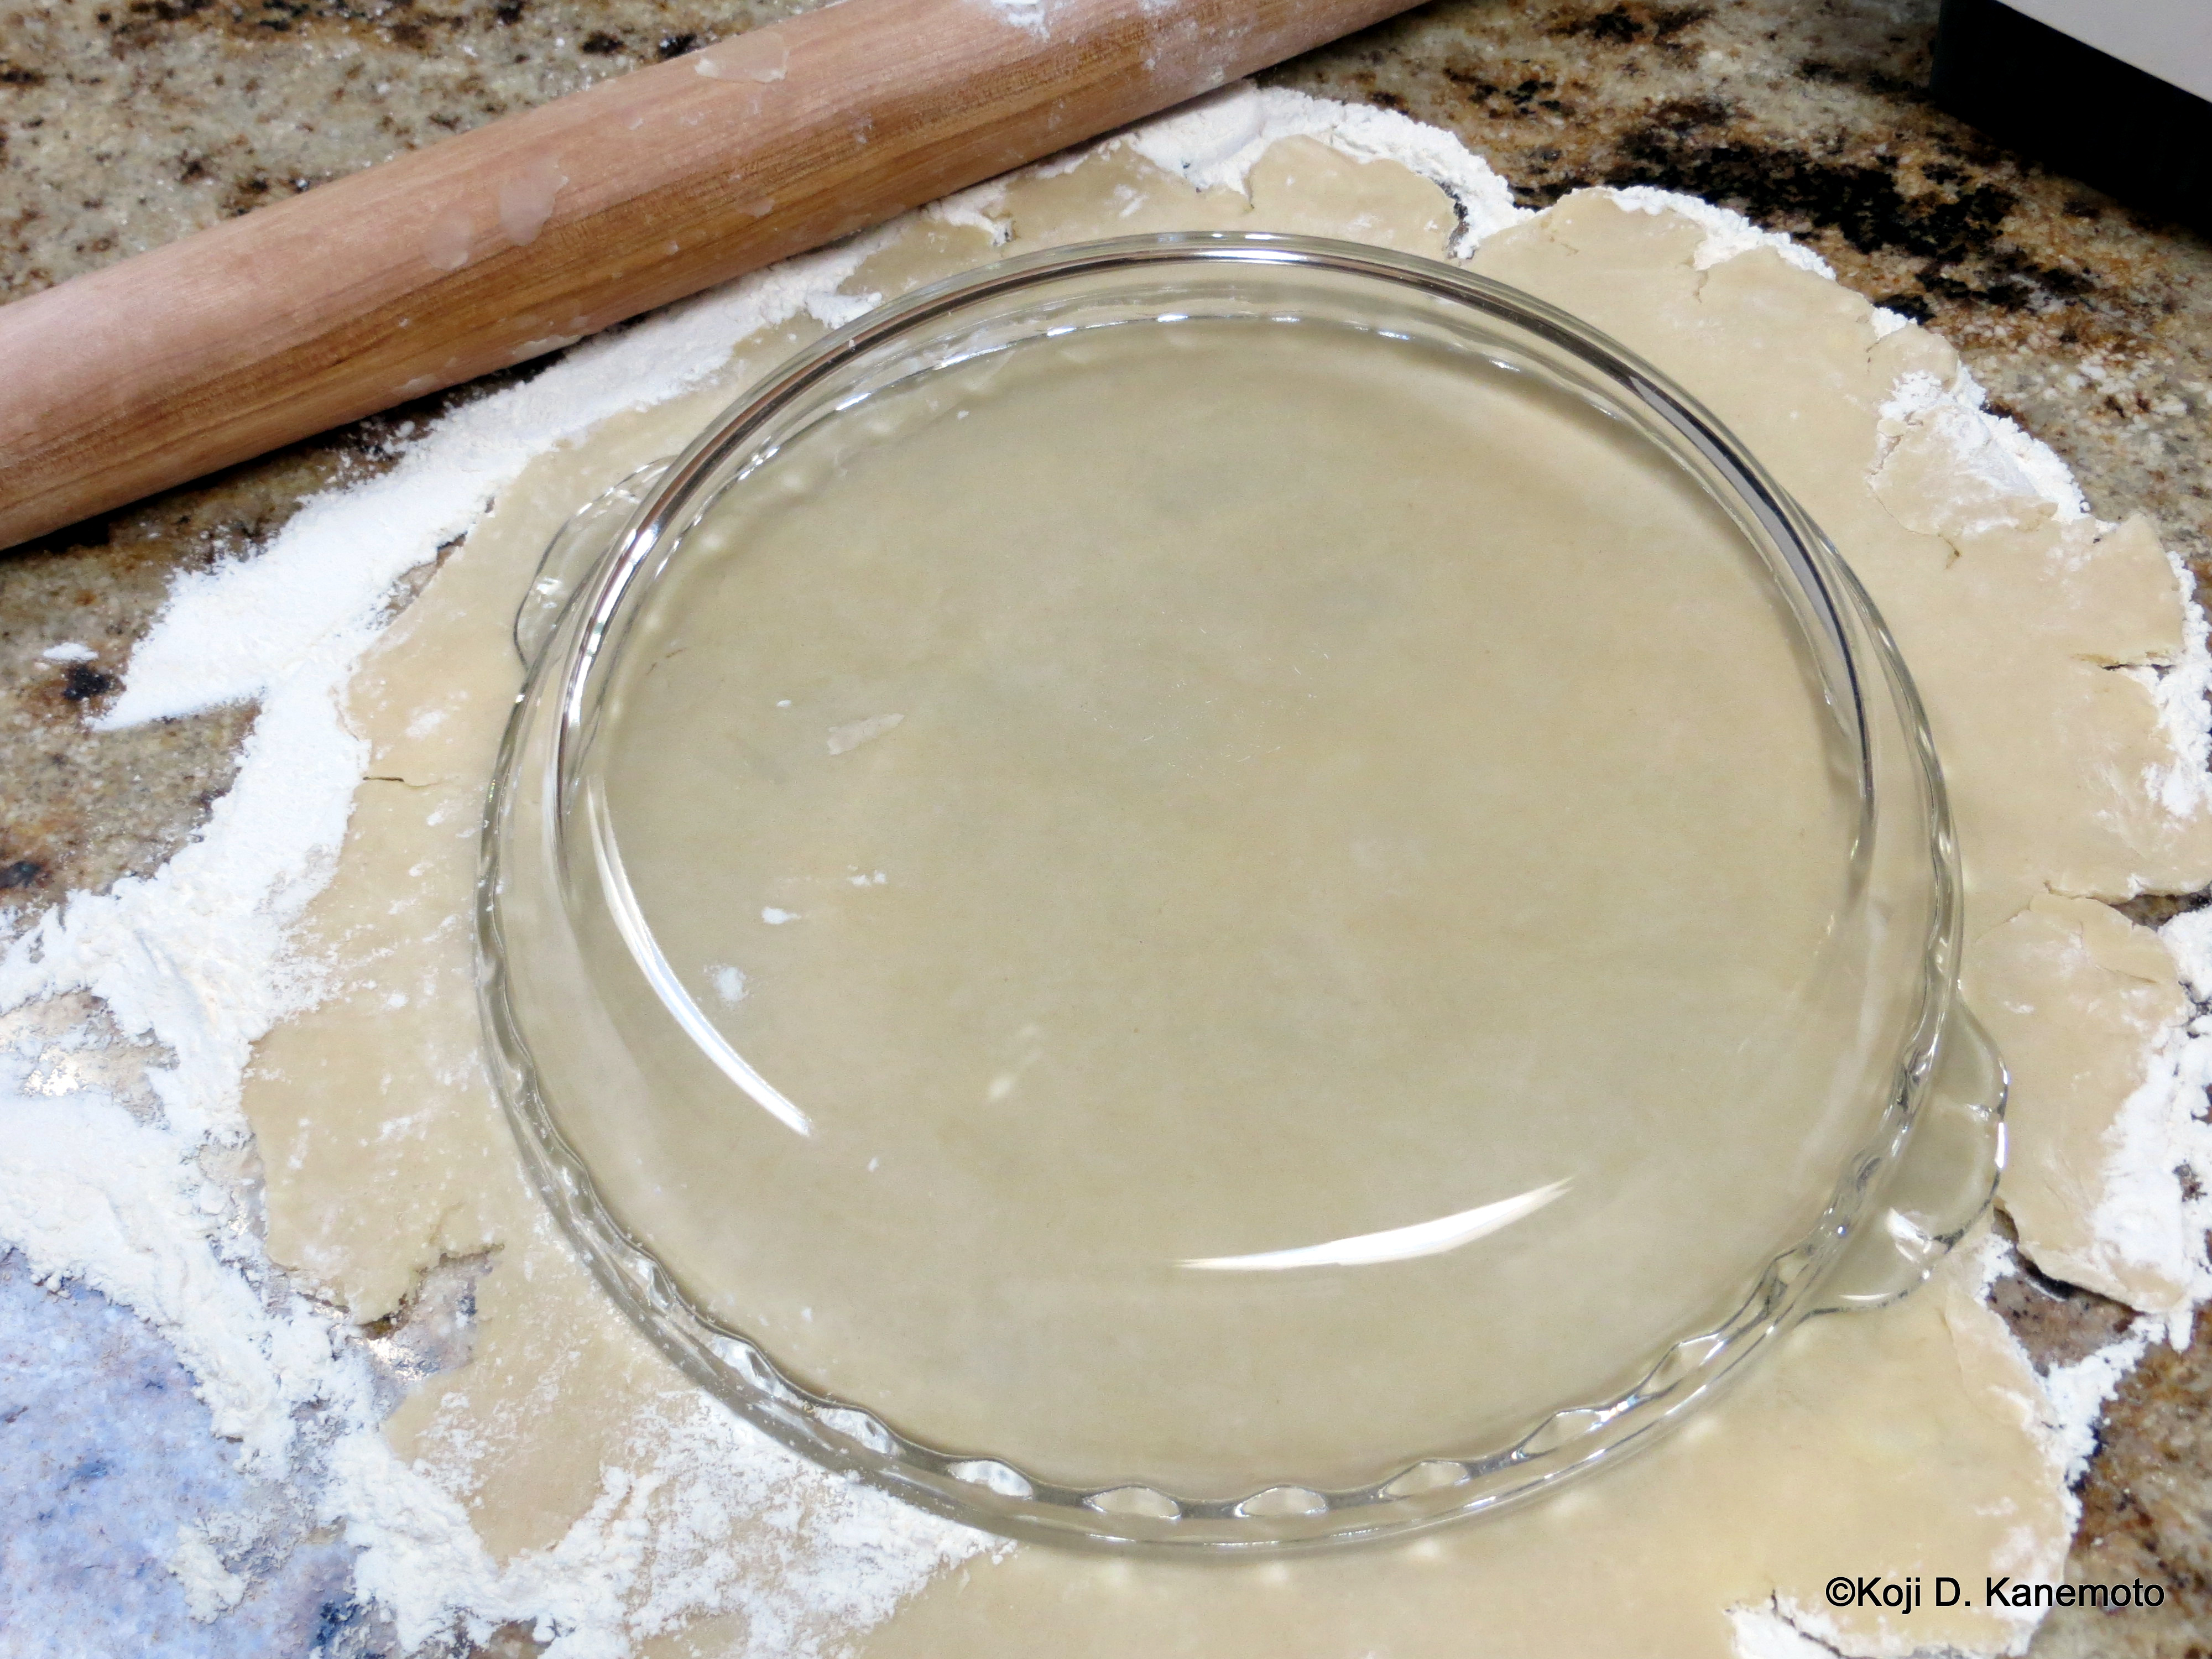
Making a pie crust from scratch is really pretty easy. Tried it for the first time.
But rolling out the pie dough… Now that’s a bitch. (Pardon my French.)
But I did it… Sorta.
____________________________
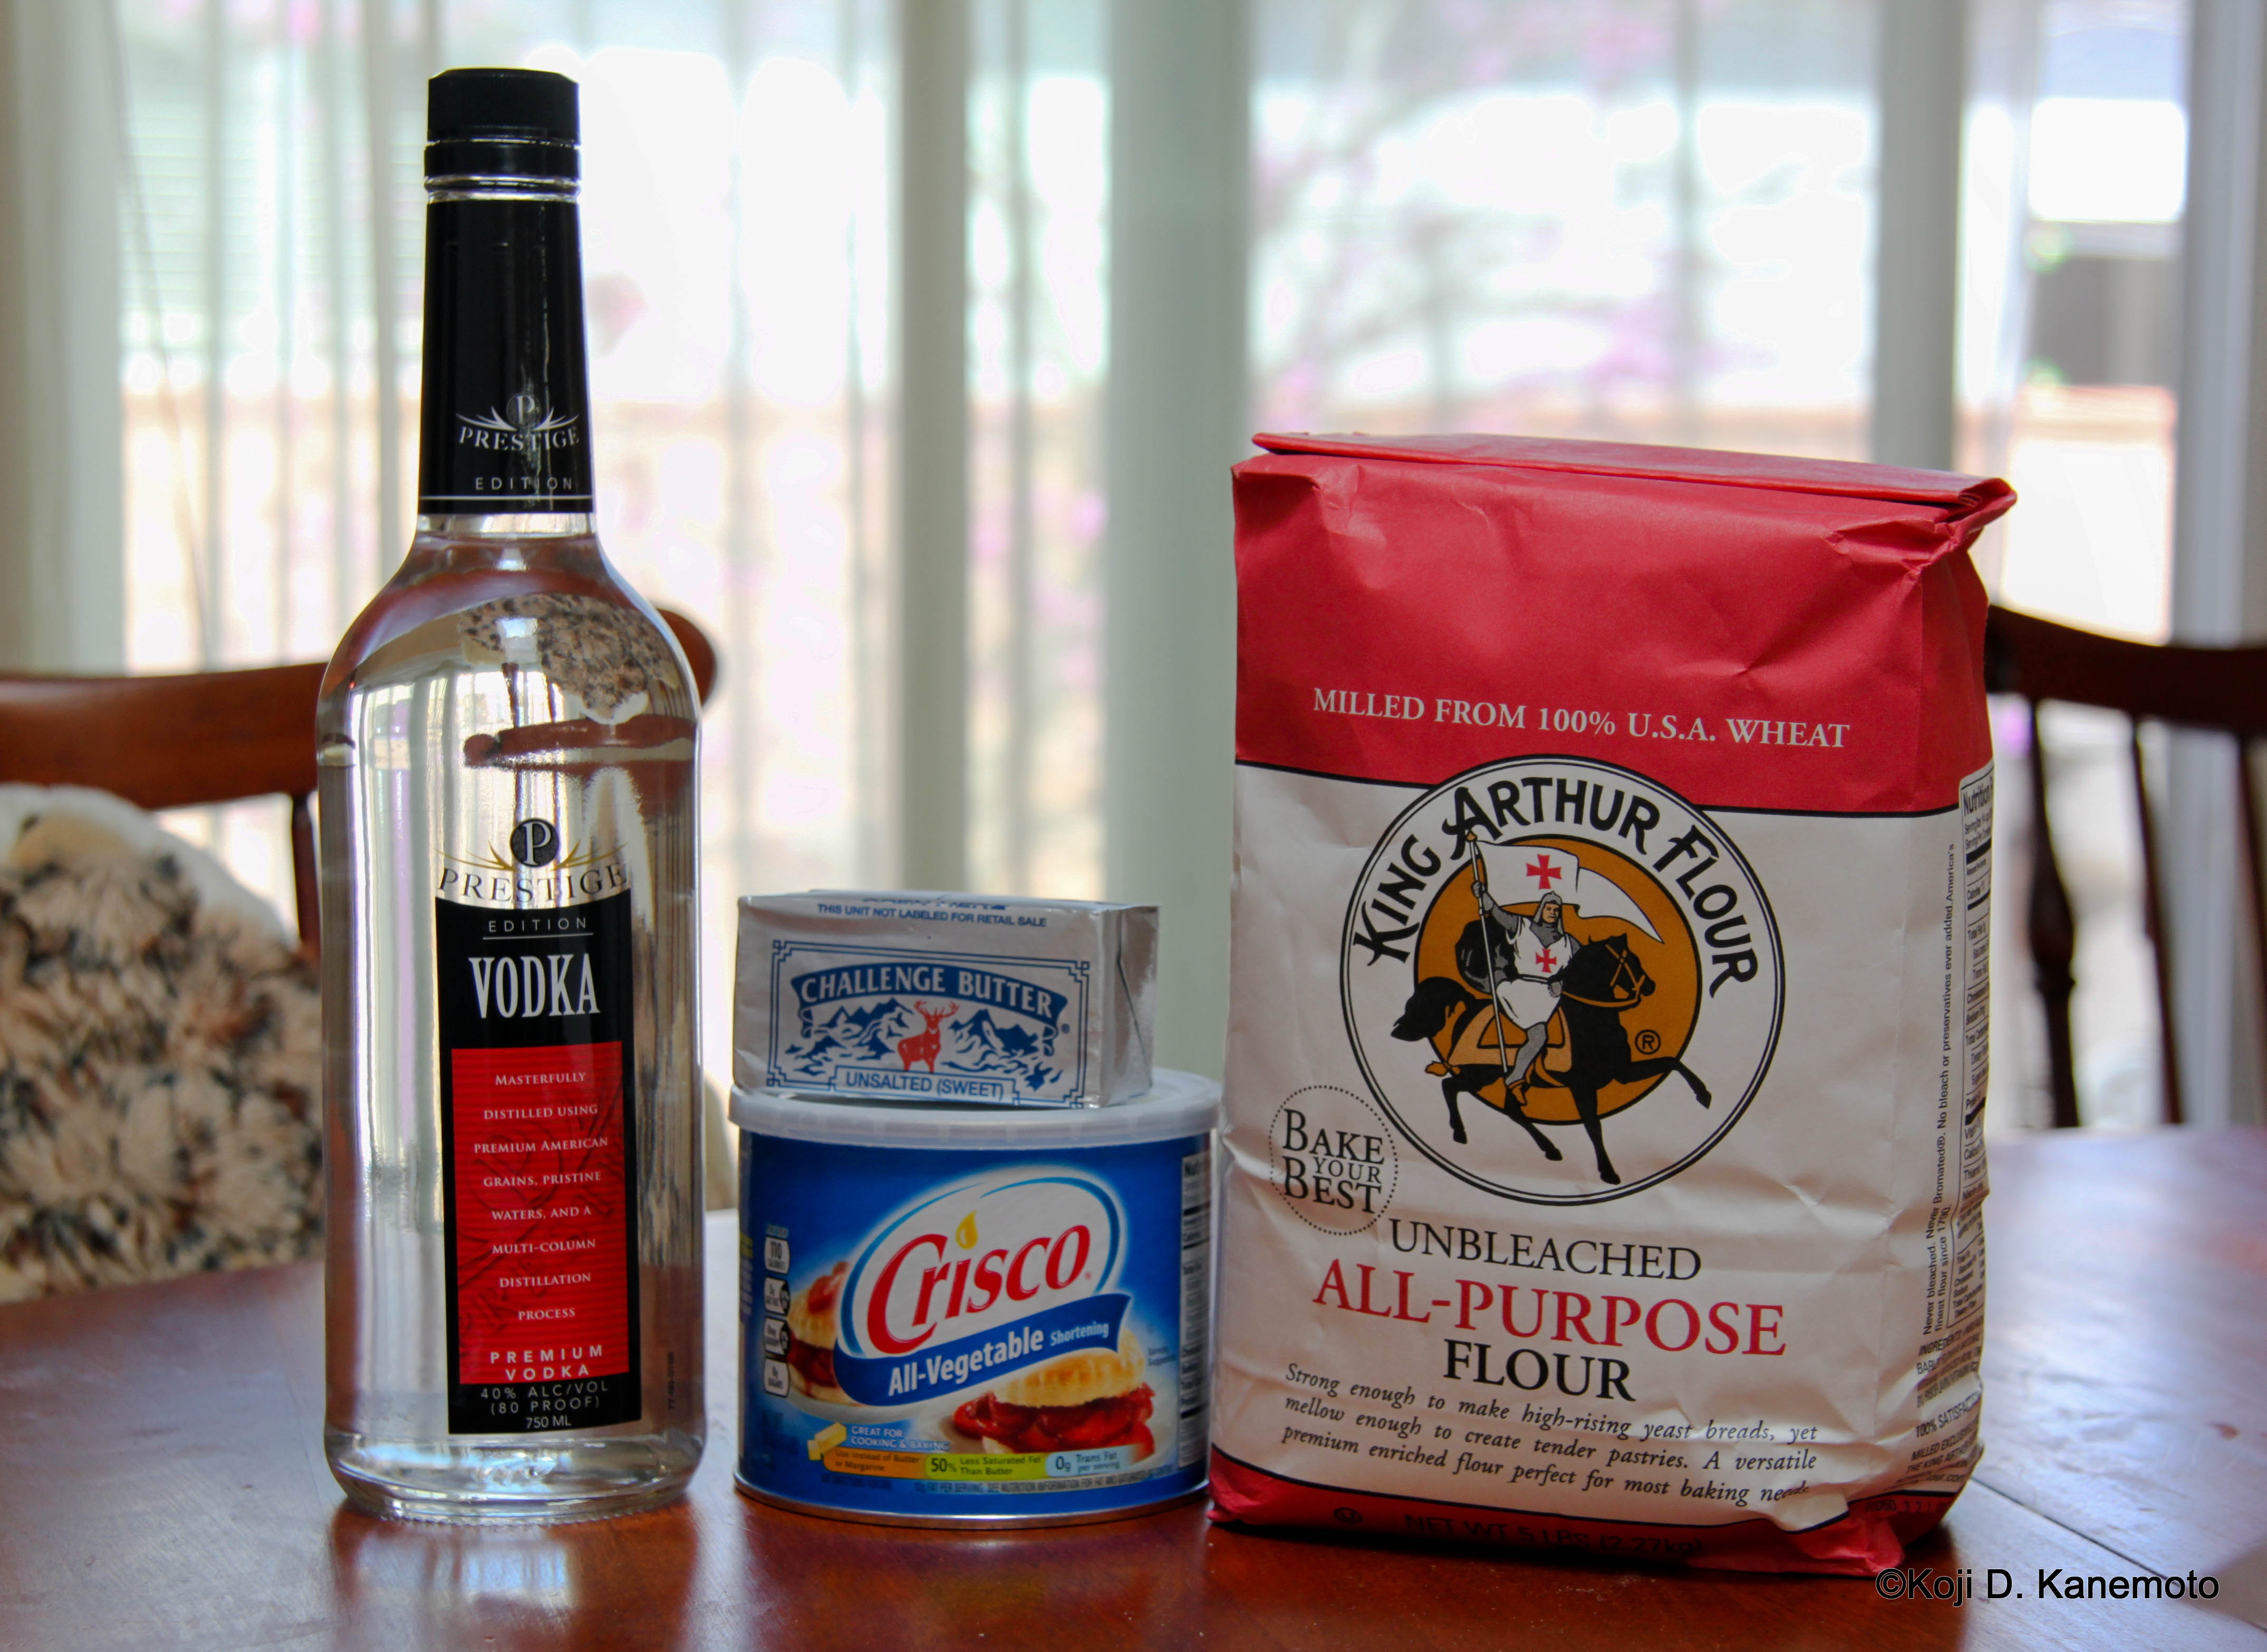
Yes, the Cook’s Illustrated recipe called for vodka. No sense paraphrasing it so this is what they said:
“The problem is that dry pie dough is impossible to roll out. We needed a soft, pliable dough for rolling—that is, one with plenty of liquid—but a dry dough when it came to baking. The solution turned out to be, surprisingly, vodka. By using a quarter cup of ice water mixed with the same amount of chilled vodka, we could add a high amount of liquid and create a dough that was moist enough to roll out easily, but still tender after baking. While gluten forms readily in water, it doesn’t form in alcohol, and vodka is 40 percent alcohol. The alcohol vaporizes in the oven, so that no trace of vodka is detectable in the finished crust.”
Well, it really worked except when this old former mechanic decided to deviate from said recipe by leaving it in the oven to bake for three extra minutes.
And letting the dough get too warm while rolling it… if you call it rolling. LOL Instead of being circular, it ended up looking more like Patrick Star of Spongebob.
Oh well.
__________________________
Let’s get down to the evidence:
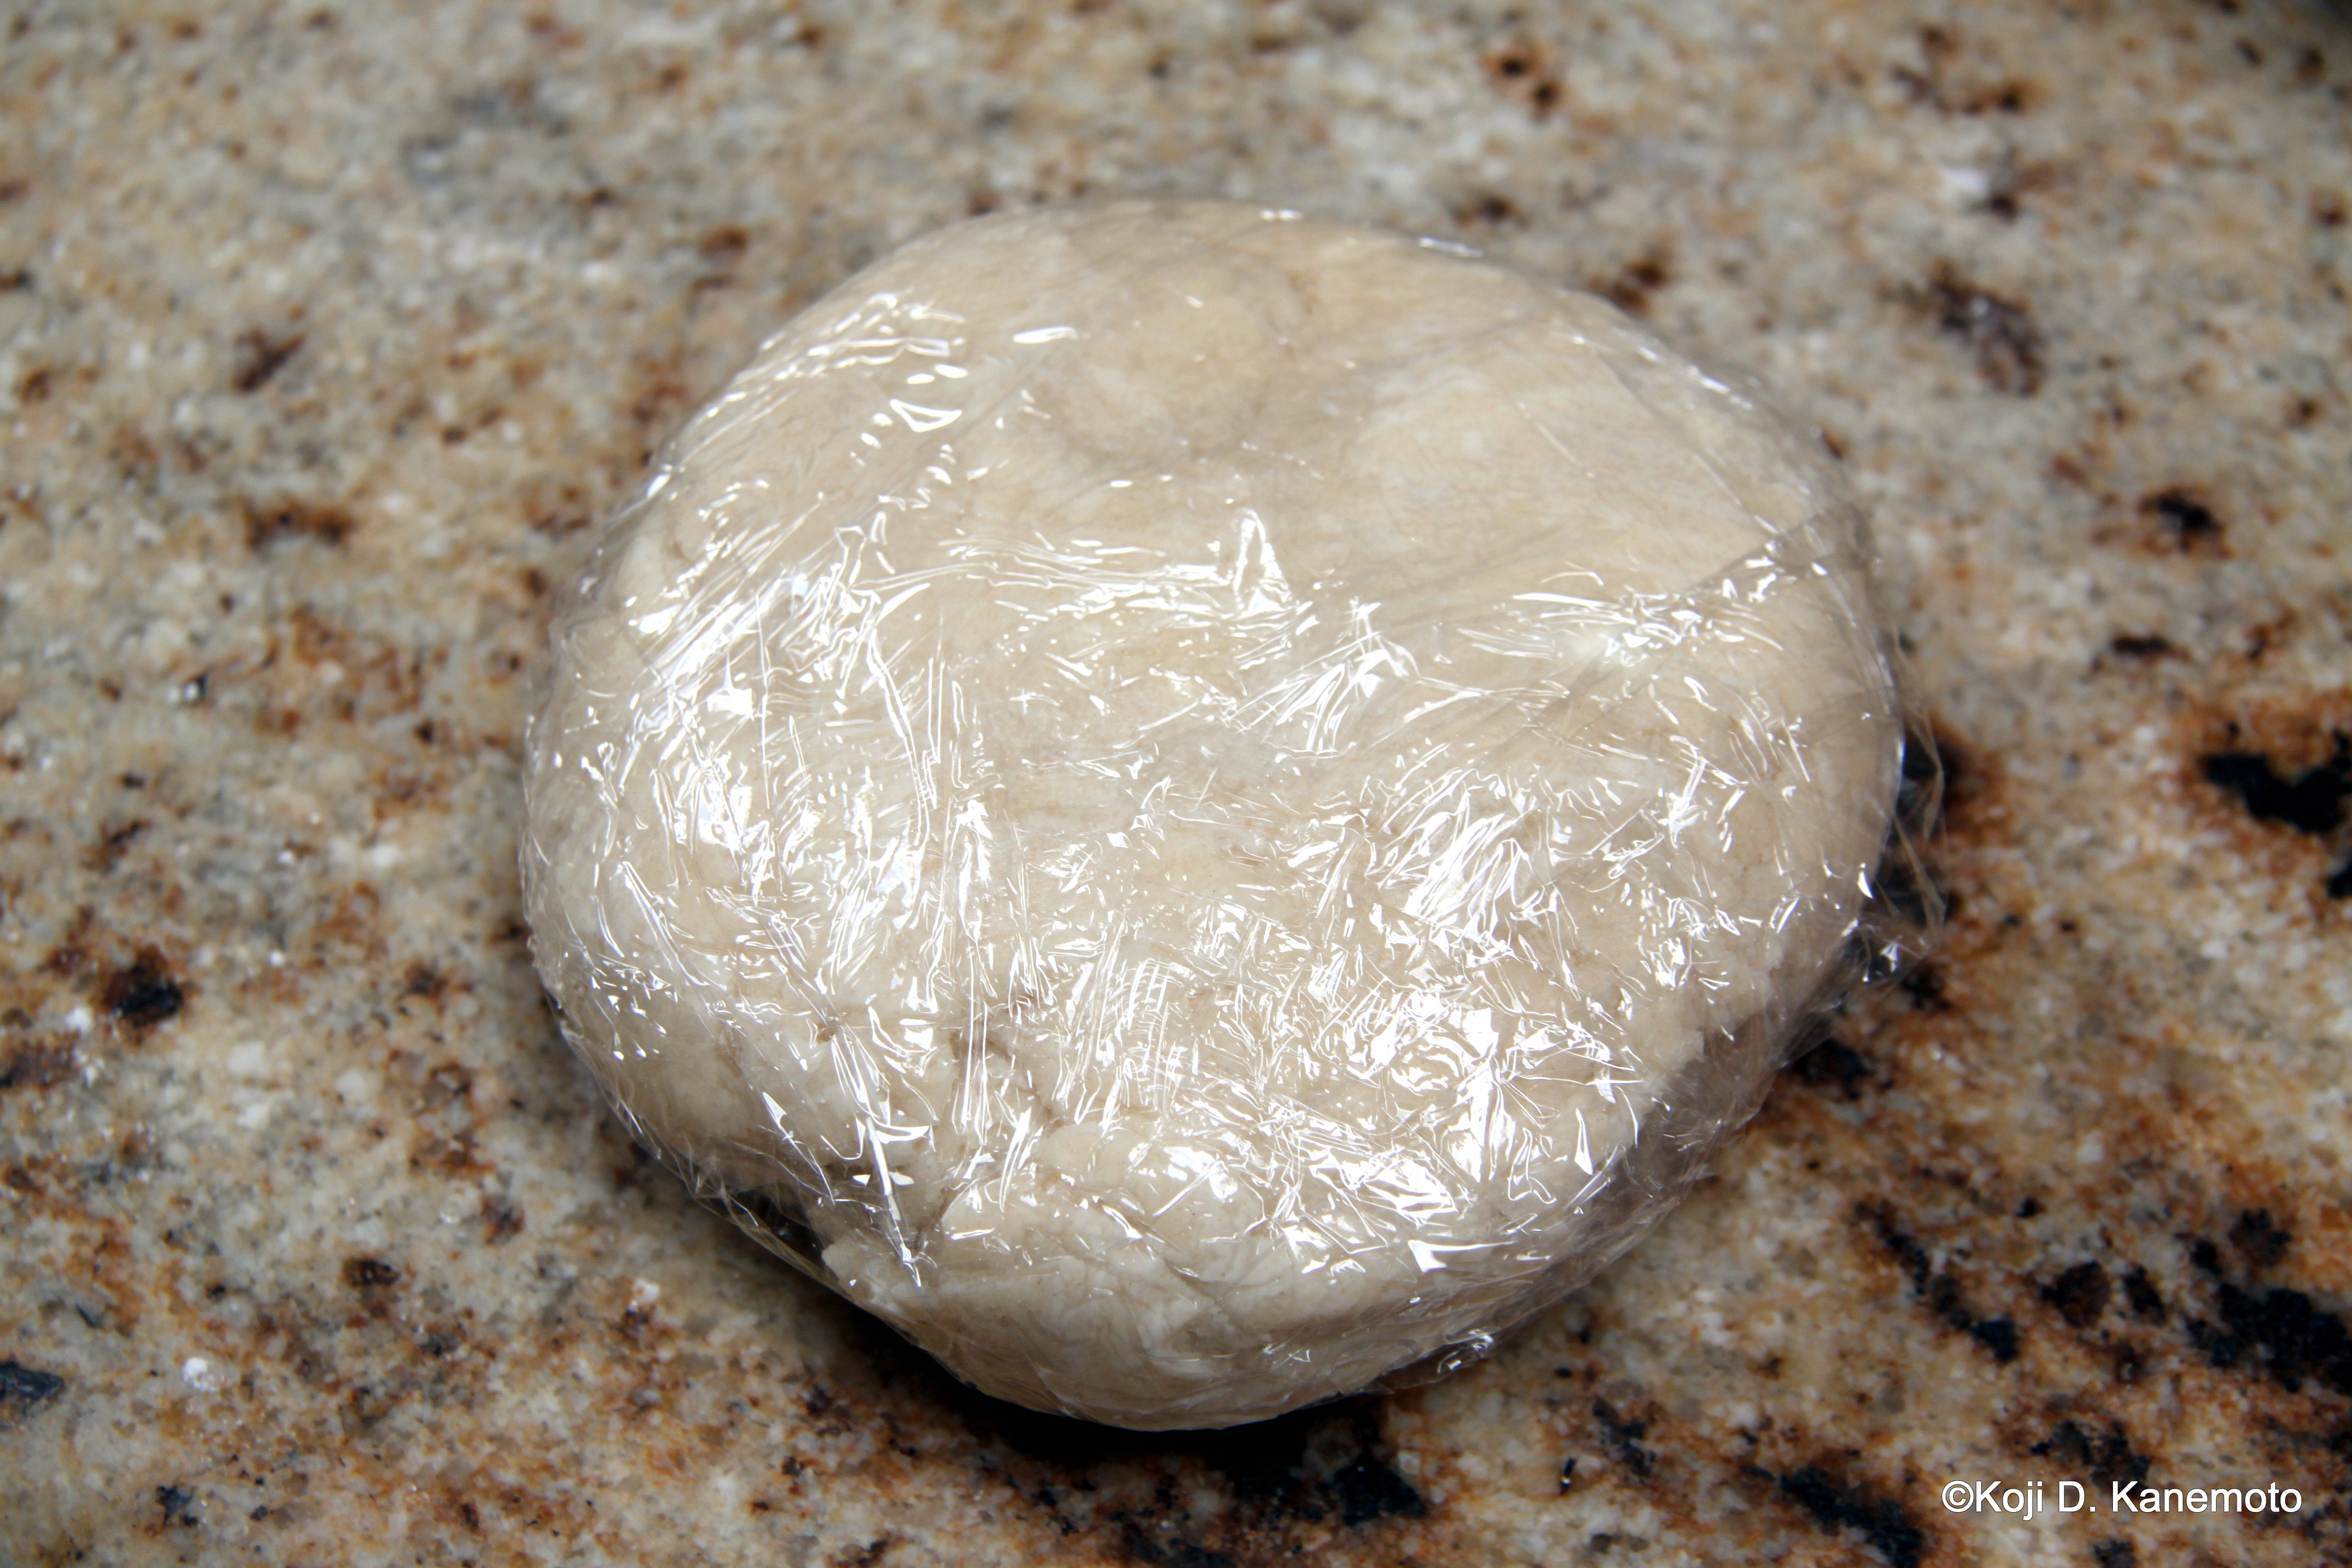
Pulse 2/3rds of the unbleached flour together with the sugar and salt.After adding the chilled vegetable shortening and unsalted butter, process no more than ten seconds. Separate dough into two or three sections then add remaining flour. Watch out for the cloud.After adding the remaining flour and about four to six pulses, dough should look like this. Don’t overdo it.Transfer to mixing bowl, add water and vodka, and fold. Should be tacky.Form a four inch circle, wrap in plastic wrap then refrigerate at least 45 minutes.Liberally dust. I was dumb enough to use my granite counter top…which was still warm from basking in the afternoon sun. I also forgot to dust the top before rolling. 🙂Patrick Star in disguise. Making the dough til now was a snap. Rolling it? HA!It needs plastic surgery…but don’t laugh. 🙂A burned fait accompli. You can see the results of my uneven rolling! In fact, the right side slid down! I actually had to throw it back into the oven as that section was still moist… The bottom ended up looking like graham crackers it was so toasted!It didn’t look TOO bad when it was filled up with strawberries covered in PERFECT glaze… not like jello and certainly not runny! Anyways, my good USAF neighbors got half of it; I think he may have flung out the pie crust from 30 Angels as a lethal weapon.
_______________________________
Well, the dough certainly was easy to put together.
This (aging) former mechanic did it…but didn’t follow the instructions at the end. In short:
Dust the top of the dough before rolling. LOL
Learn to roll out the dough evenly. Double LOL
Roll it in the early morning before the granite counter top feels like the Sahara. Duh
The secret is the vodka and keeping the ingredients chilled.
Oh. Don’t burn the crust nor watch Spongebob before rolling.
This old croaker of a former mechanic thought he could cook… again.
Will I ever learn? Would someone padlock the kitchen please?
Actually, I had a request… for a homemade strawberry pie.
Daryl Strawberry first came to mind.
Duh. I must have been on drugs, too. What did I get myself into? What was I thinking? A strawberry pie?
____________________________
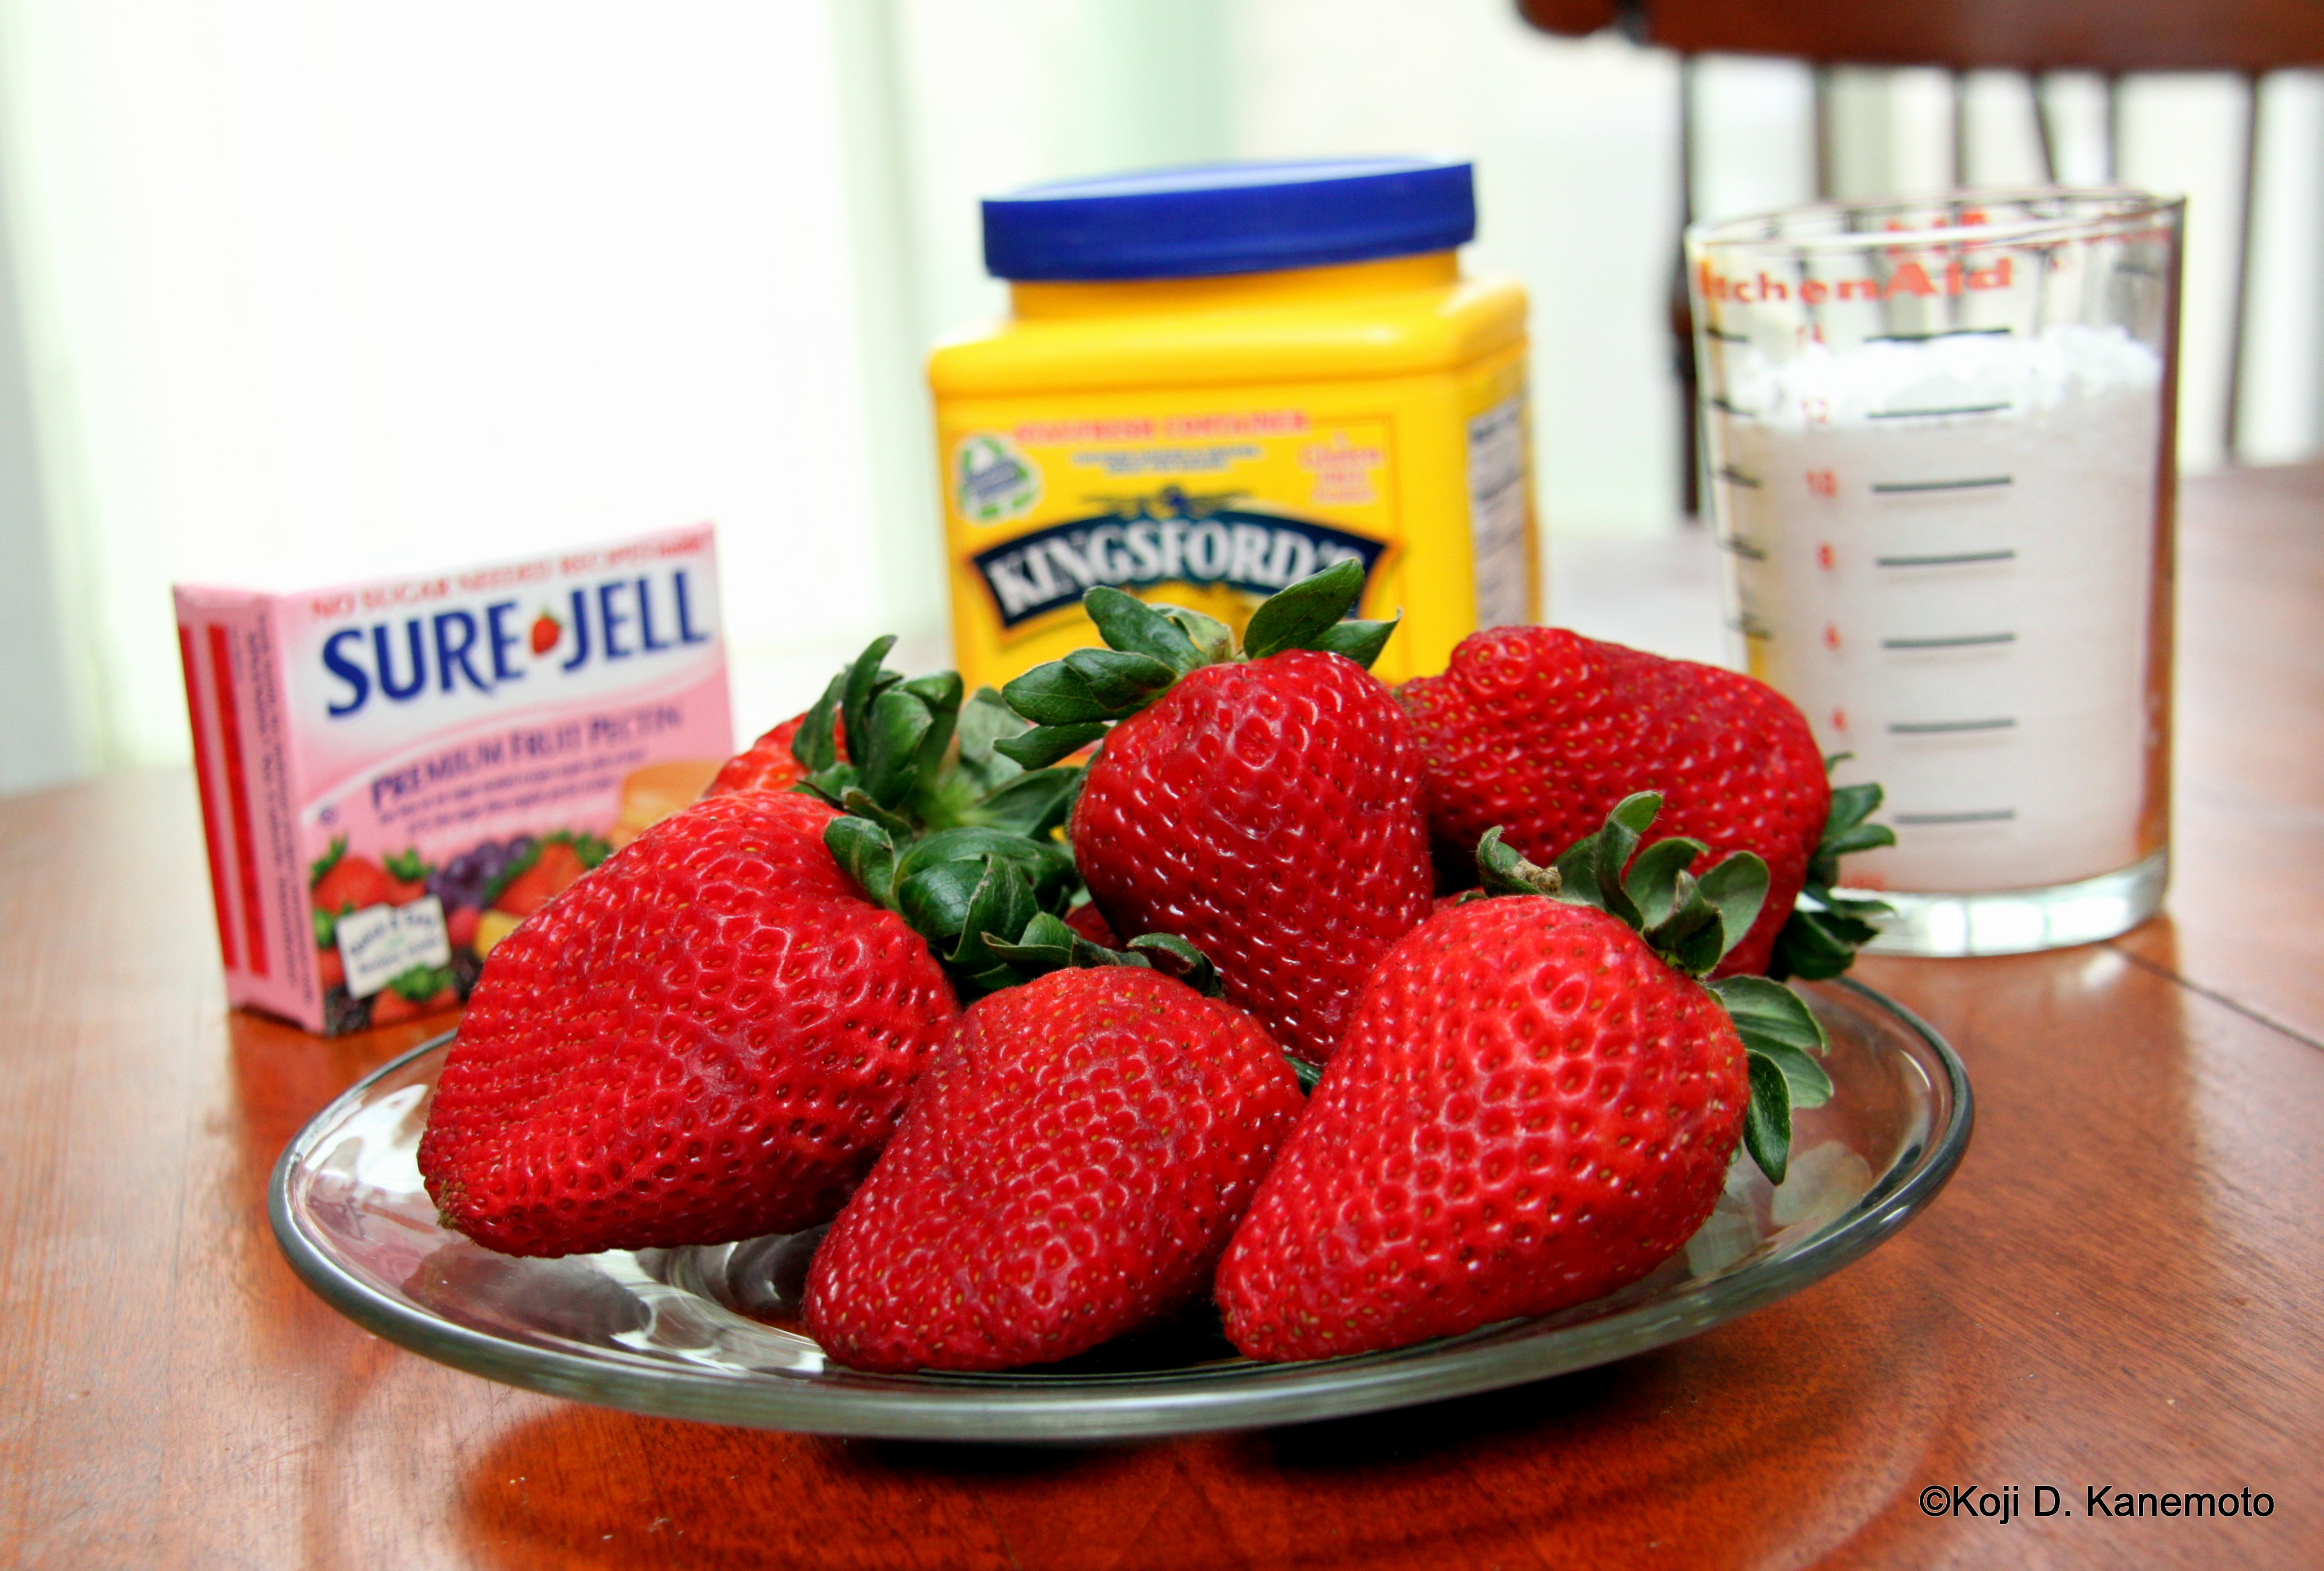
The key ingredients including the freaking huge strawberries.
So I found a recipe in Cook’s Illustrated once again. It looked easy enough.
And there weren’t too many ingredients: sugar, cornstarch, pectin, fresh lemon juice and salt…… and strawberries.
Lots of strawberries.
____________________________
Well, Cook’s Illustrated failed me this time.
They didn’t write down what SIZE of strawberries to get – just a weight.
Blasphemy.
I thought strawberries were all about the same size. You know. Size doesn’t matter.
____________________________
Well, the FRESH strawberries I ended up buying were too big. Freaking too HUGE.
Geez.
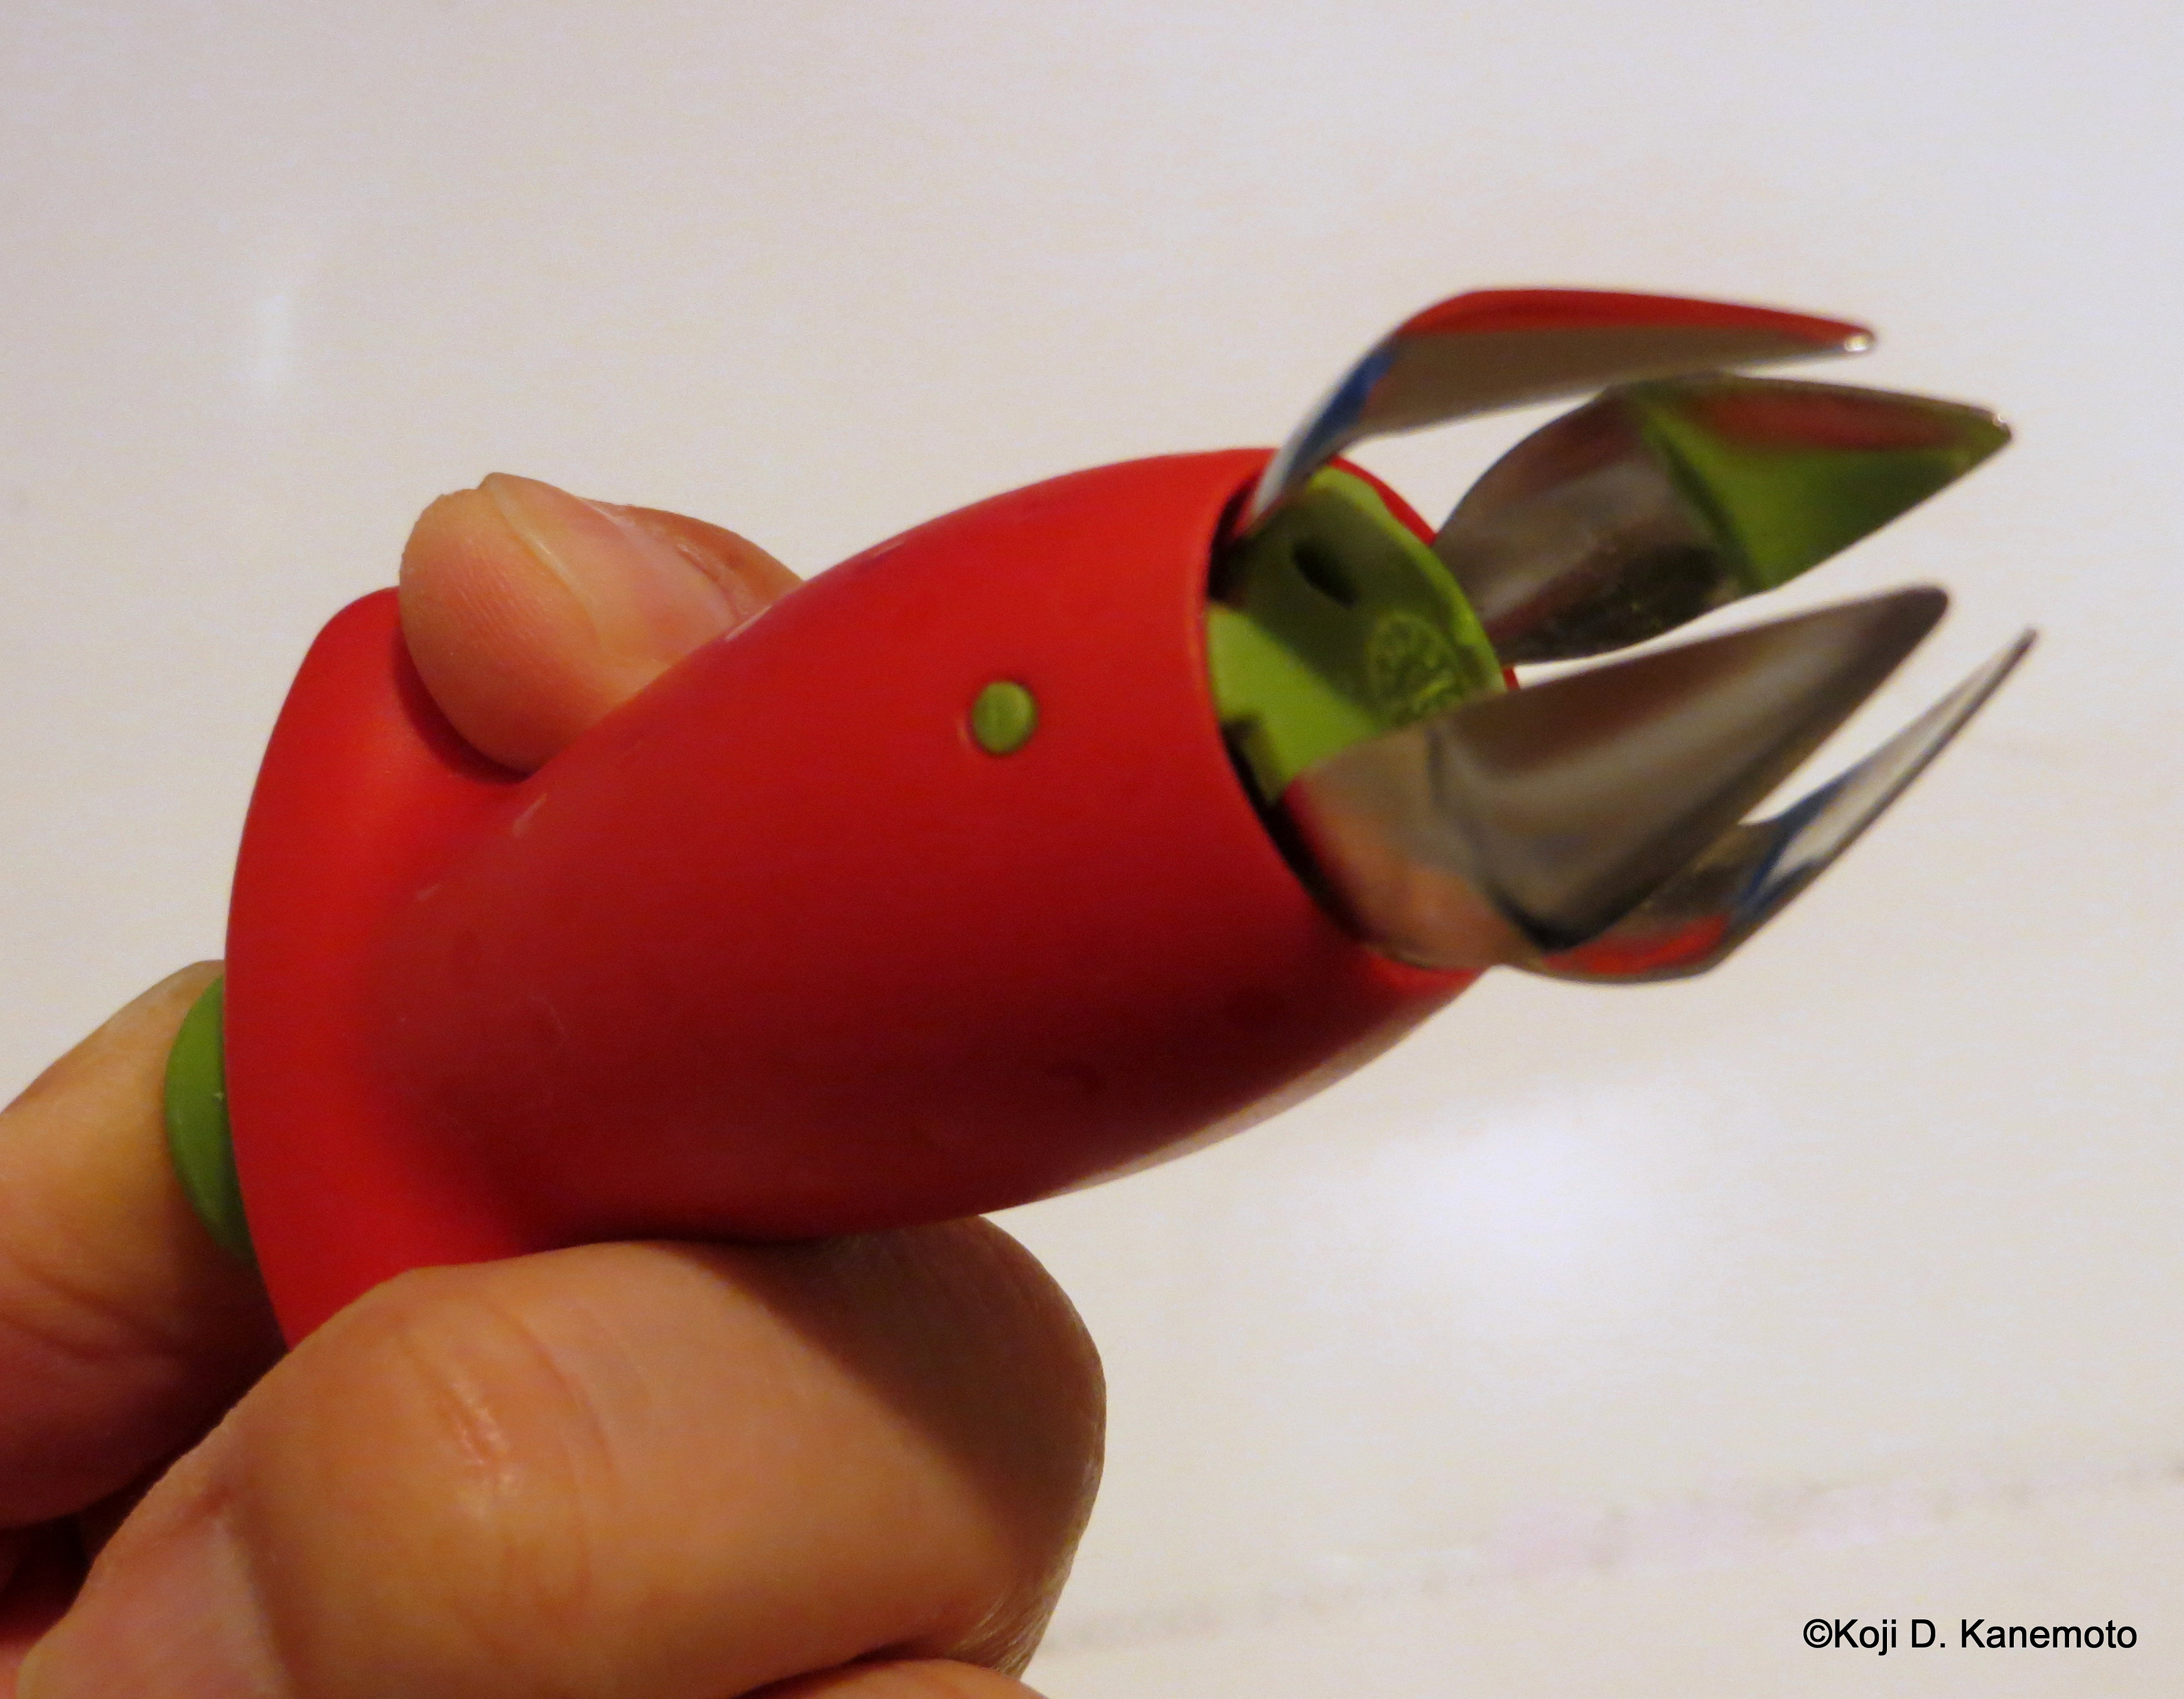
And there were LOTS of them. And they needed to be hulled. Heck, I knew I would eventually slice my fingers trying to hull them all with a knife so I cheated. Mechanics love tools, right? I bought this fancy-schmancy huller for seven bucks.
For size comparison purposes, I took a picture of the gizmo alongside one of the freaking huge strawberries I bought. It is all Cook’s Illustrated’s fault indeed for not explaining what size strawberries to get.This is what it looks life after you press that green button on this fancy-schmancy gizmo made by Chef’N Corporation. You push it into the strawberry, let go of the button and twist. It worked great! But I learned it is better if you remove the sepals first (I found out that’s what the little green leaves on the top of the strawberry are called.).
What a deal. Hulling was now a piece of cake! (Shhh… Quiet. My little Cake Boss may hear.)
___________________________
The recipe called for whole strawberries. But because the strawberries I bought were so freaking huge, they looked like bowling balls in the pie crust. While I didn’t know if it was taboo or not but I decided to cut the strawberries in half. I was worried that all that juice would leak out and make the crust feel like you were biting into a sponge.
(I cheated again and got pre-made crusts; it really shrunk big time after baking as you can see in the picture. I will endeavor to make the crust from scratch next time. Oops. Someone stop me from trying that, please.)
__________________________
Well, aside from the glaze not becoming transparent enough and the incredible shrinking crust, the pie turned out tasting great.
I will write a scathing letter of complaint to Cook’s Illustrated. They did not consider that old berry-brained former mechanics like me would actually try to follow their recipes.
I will also write a letter to President Obama and have him execute another Executive Order to change the law – that Cook’s Illustrated must write their recipes so that old former mechanics will understand.
But why complain.
I will just go to Marie Callendar’s next time and buy a strawberry pie for $8.99.
Just a smartphone photo…and before the little Cake Boss started to fold in the cake flour. It looked as if Mt. Vesuvius erupted in our house.
So we decided on Classic Pound Cake…sans the lemon glaze. She didn’t want it.
…Darn.
Per the Cook’s Illustrated recipe I decided upon, the secret apparently lies in the temperature of the butter and eggs as well as using cake flour. Do I dare say it sounded easy..?
It did…until I remembered I wasn’t baking it…alone.
I forgot I worked for the household Cake Boss. Silly me.
Well, she plowed through it… at a eleven year old’s pace, that is.
Before she added the egg mixture…
The ingredients used were:
16 tablespoons unsalted butter (2 sticks), cold, plus extra for greasing pan
3 large eggs
3 large egg yolks
2 teaspoons vanilla extract
1 3/4 cups cake flour (7 ounces), plus extra for dusting pan
1/2 teaspoon table salt
1 1/4 cups sugar (8 3/4 ounces)
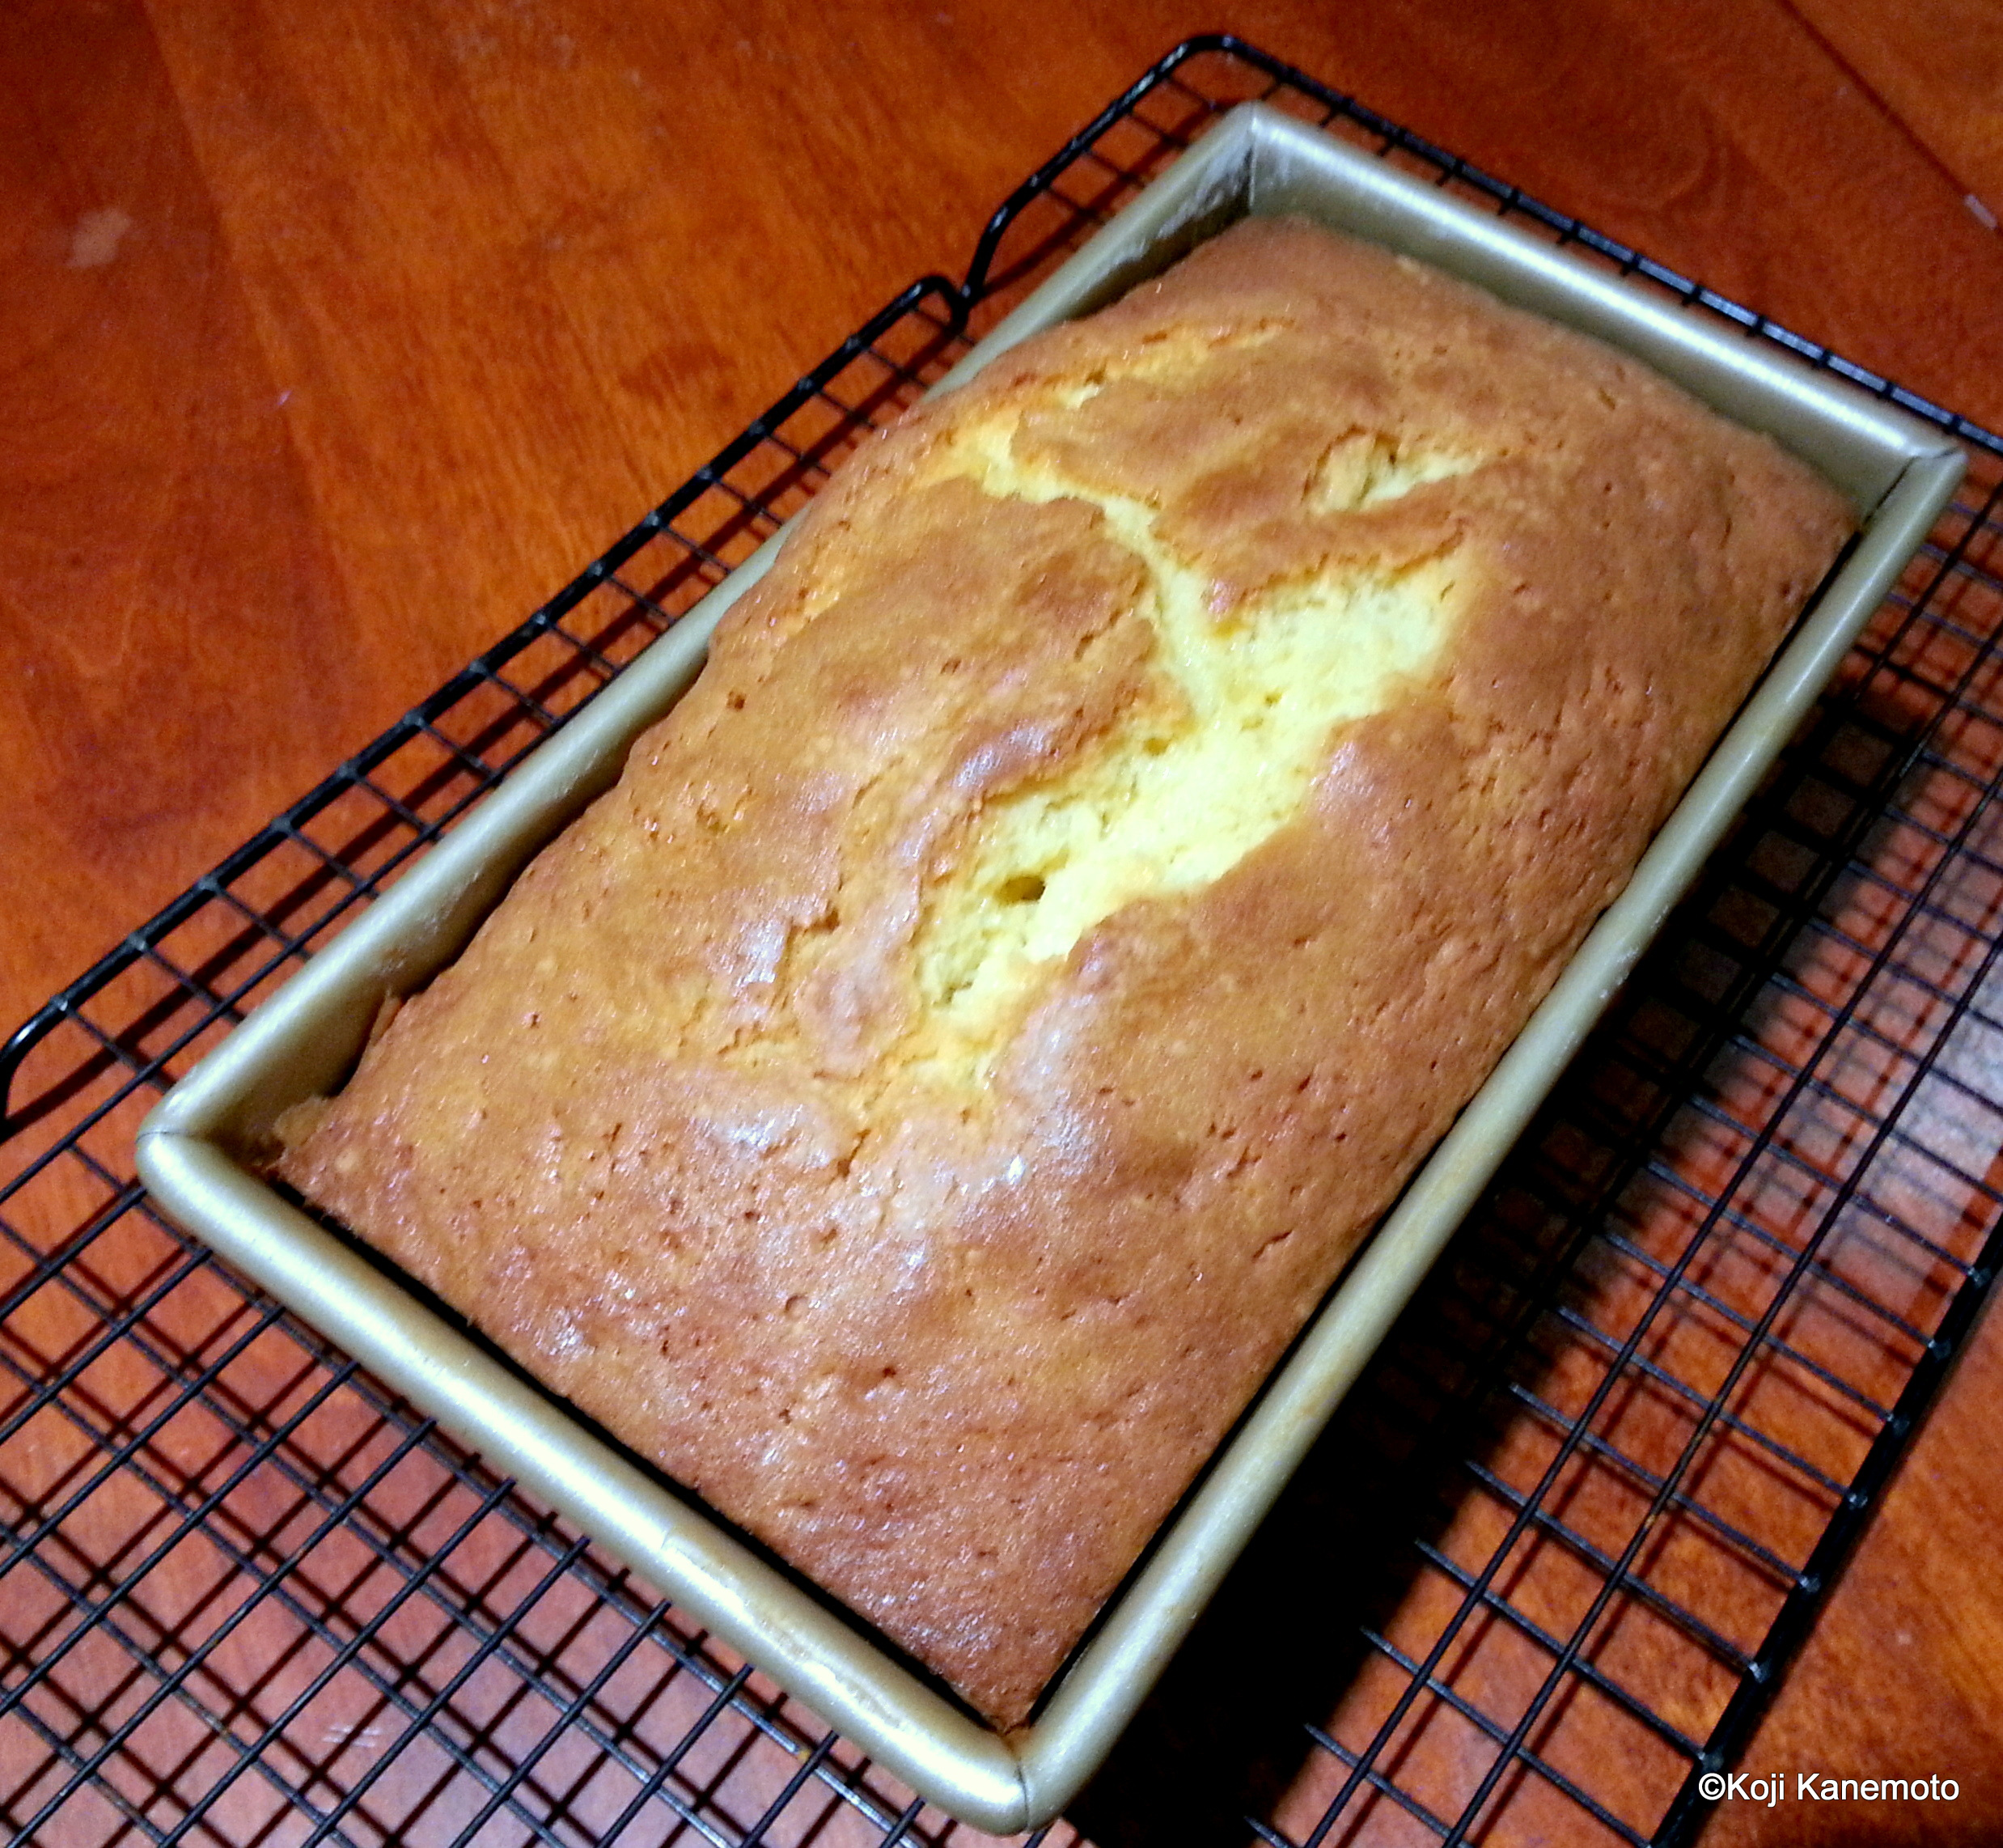
We followed the Cook’s Illustrated bible as best we could… And you know what? It domed wonderfully!
It domed wonderfully…! And I had to guess on the doneness as I had no wooden skewers. Afraid to have a soggy under-baked creation, I overbaked it by about five minutes… Boo-boo.
After it cooled and nearing midnight, we got to sample her creation.
Oink oink! It was really good!
__________________________________
So now, I have another addition to my man-kitchen dessert repertoire… and the little Cake Boss didn’t fire me. She nearly did after I put together her Classic White Double-Layer birthday cake. She had demanded I even off the domed tops…which I did not… and I should have listened to the very experienced little Cake Boss. 😦
Man, who wouldn’t be salivating just reading those three little words.
Well, my kids did…not.
“Pasta? Again, Papa? Can we have something different…please?”
Kinda tough to hear when you’re a single dad pretending to be a miracle chef…
I’m sorry. Cook, not chef.
And to find something that they both like? Ha!
___________________________
To please my mollycoddled rug rats, I scoured my bible: “Cook’s Illustrated”. In addition to the tried and true recipes of my bud and chef Cathy Thomas, Cook’s Illustrated is my go-to play book. I think the Denver Broncos could have used one last weekend…a playbook, that is.
By sheer fortune, Cook’s Illustrated had what sounded to be a delectable pasta dish… Spaghetti al limone. And it sounded pretty light and (relatively) healthy to boot and it was a huge change from my man-kitchen pasta repertoire. As an example, my from-scratch Alfredo sauce would make Fat Albert REAL happy. It is laden with luscious butter, cream and Parmigiano-Reggiano. The only healthy thing in it is the garlic and a dash of nutmeg. But man, its to die for! Oops.
So I gave Spaghetti al limone a shot…and the kids loved it! Both of them. Ye-haw! Of course, garlic bread was a required accompaniment, making their smiles even bigger.
In my attempt here, I should have used a bit more of the basil leaves; it surely would have added a bit more color and brightness.
For those interested, the ingredients are:
Salt
1 pound spaghetti
1/4 cup extra virgin olive oil, plus more for serving
1 medium shallot, minced (about 3 tablespoons)
1/4 cup heavy cream
1-1/2 cups reserved pasta cooking water
2 teaspoons finely grated zest and 1/4 cup juice from 3 lemons
1 ounce finely grated Parmesan cheese (about 1/2 cup), plus more for serving
Ground black pepper
2 tablespoons shredded fresh basil leaves
(Note: For the lemon zest, I like the zester made by Microplane. And be sure to use ONLY the yellow part of the peel and avoid the pith.)
__________________________
So whether or not you have kids to appease, engorge yourself on this pasta dish. It’s a great cure if you’re feeling down. Your palate will love it.
Yes. It was that good.
And a US Marine blogger intimated that my food pictures he saw were “dated”… meaning “Do I still cook”?
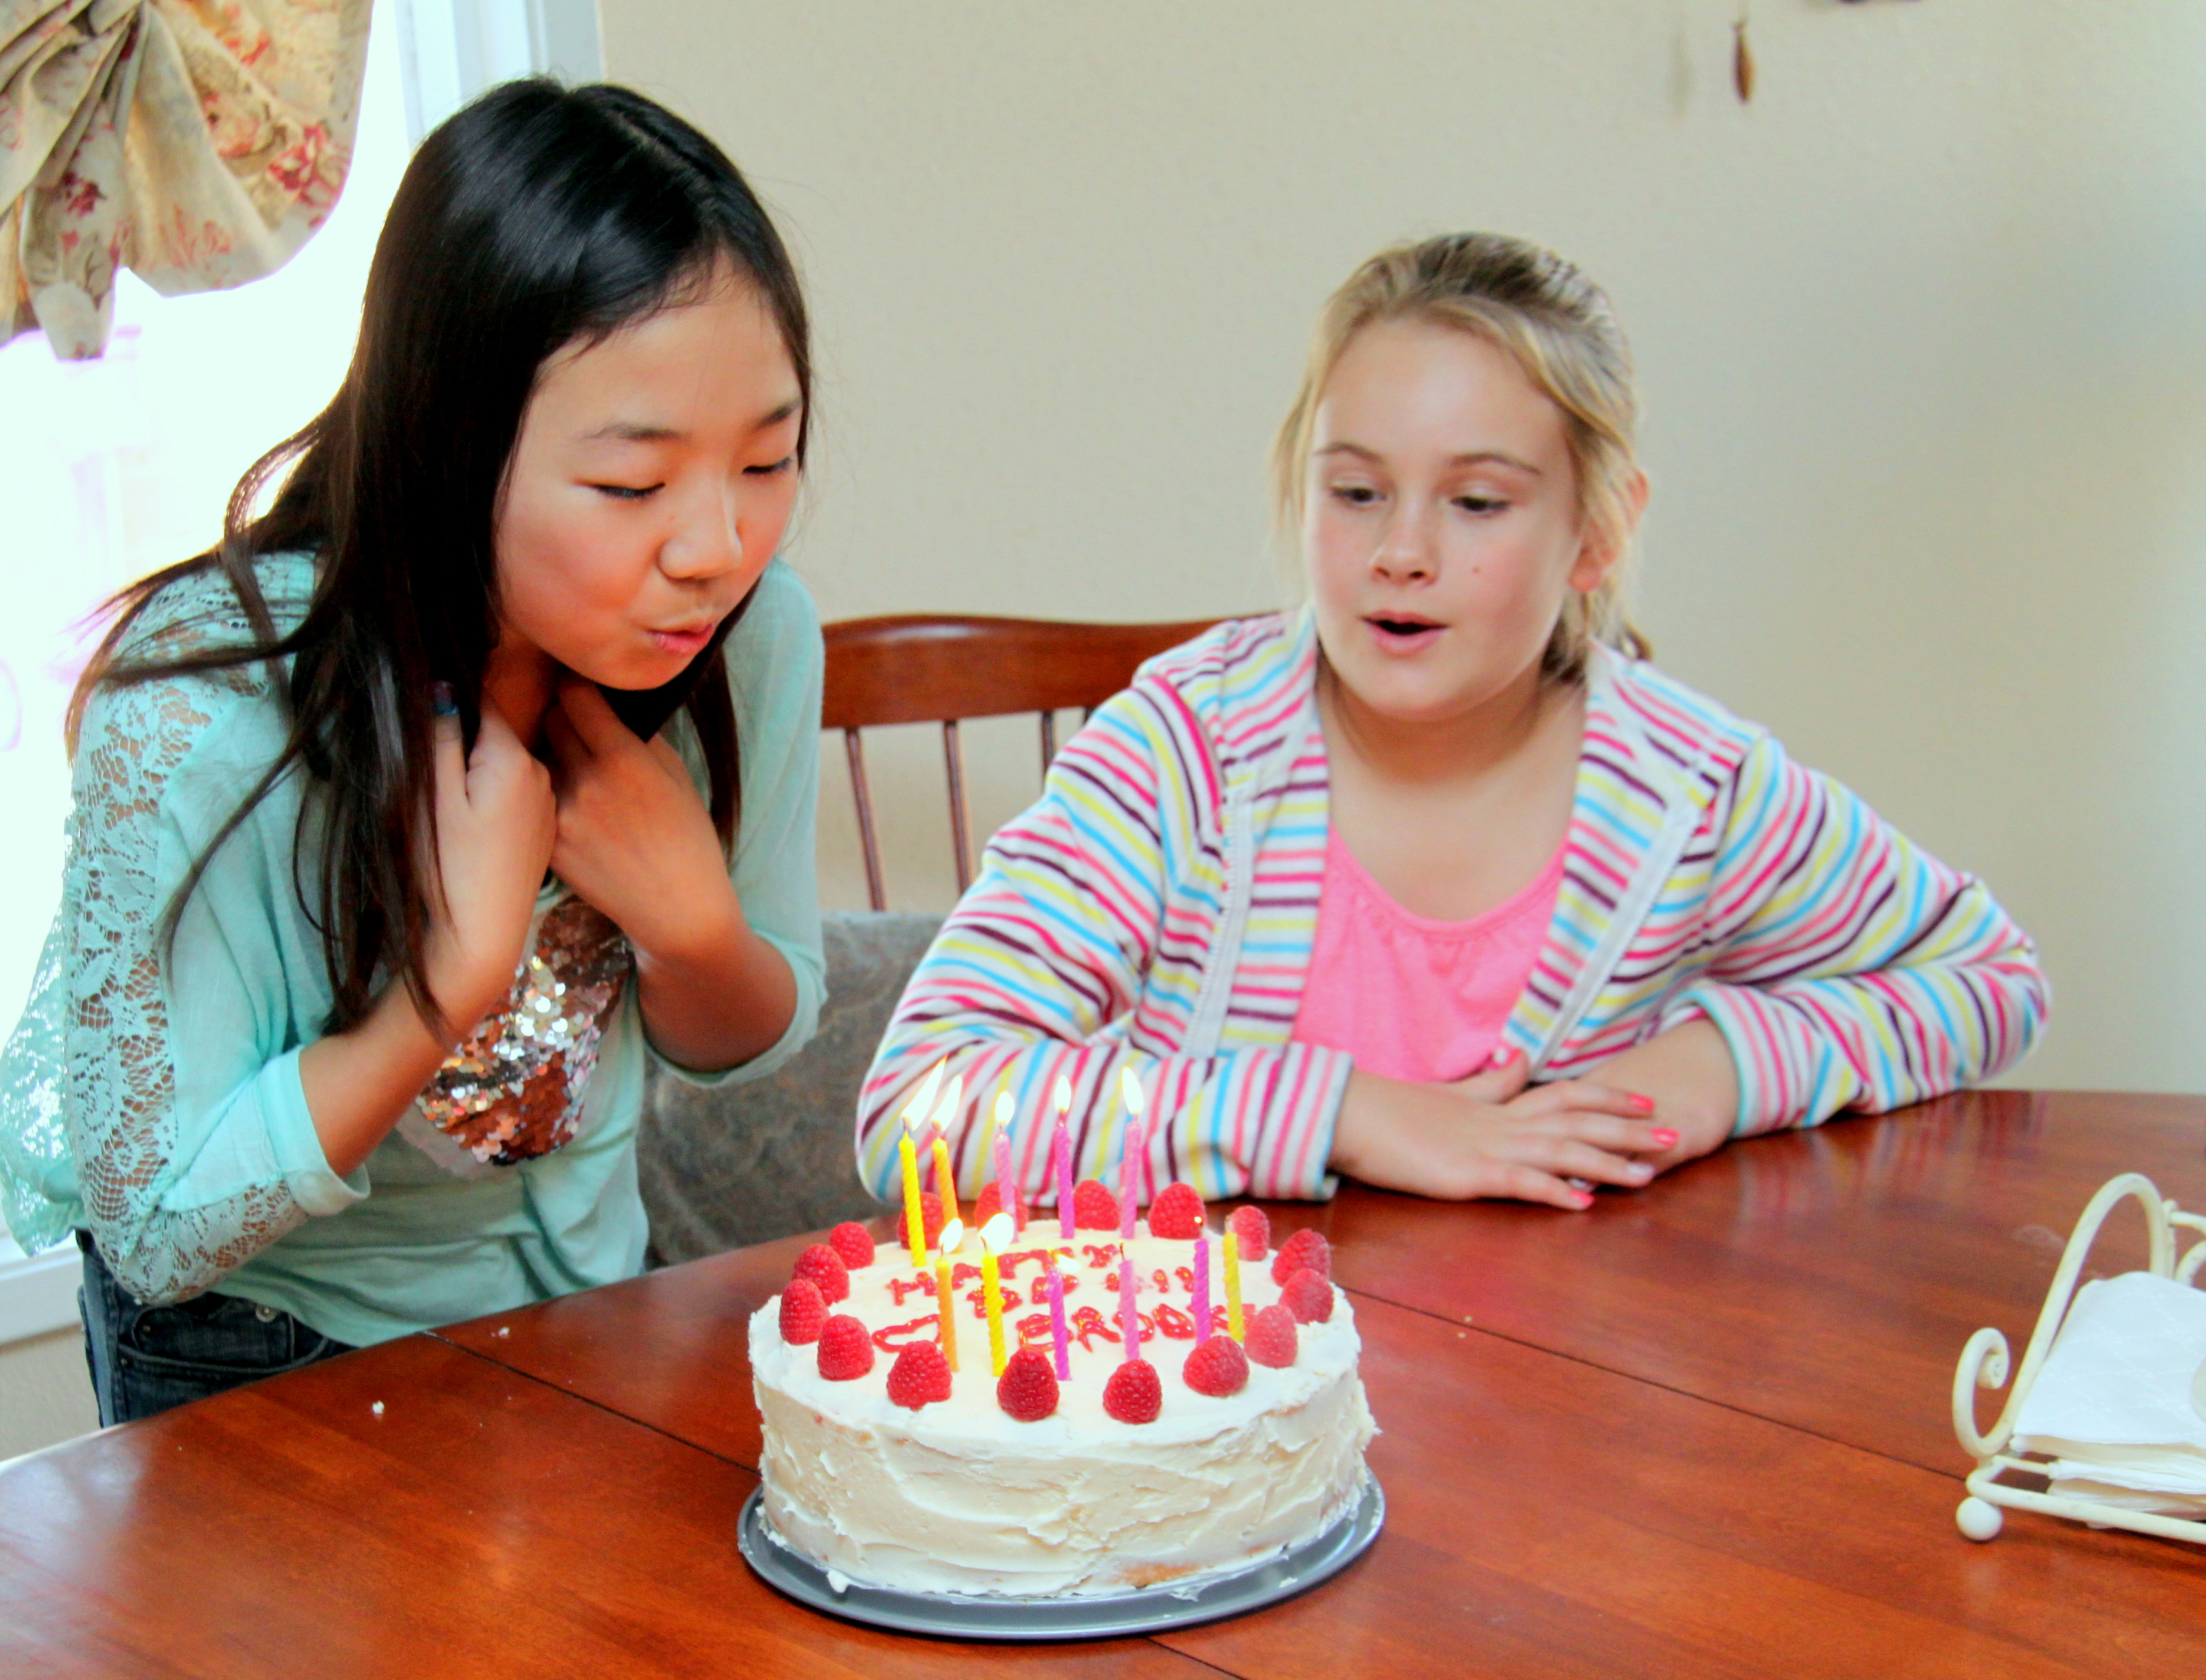
In case you haven’t figured it out, my daughter is on the left.
My just-turned eleven old daughter had her third 11th birthday party.
That’s right. Third one. LOL
And, with the stuff that’s been going on our family life, I decided to try and make a “classic white double-layer birthday cake with raspberry filling and butter cream frosting” for her – from scratch.
Key word: “try”.
And dang, that’s long name for a cake, isn’t it? Mary Poppins would be pleased.
_____________________________
My two oldest celebrated Brooke’s 11th birthday a week earlier during her real birthday.That’s my beloved Green Bay Packers t-shirt… Oh, and my four great kids.
This ol’ mechanic thought he could throw this cake together easily… You know, like if I was Major Nelson with Jeannie at his side.
And I wish I did have Jeannie. Only for her blinks, of course.
________________________________
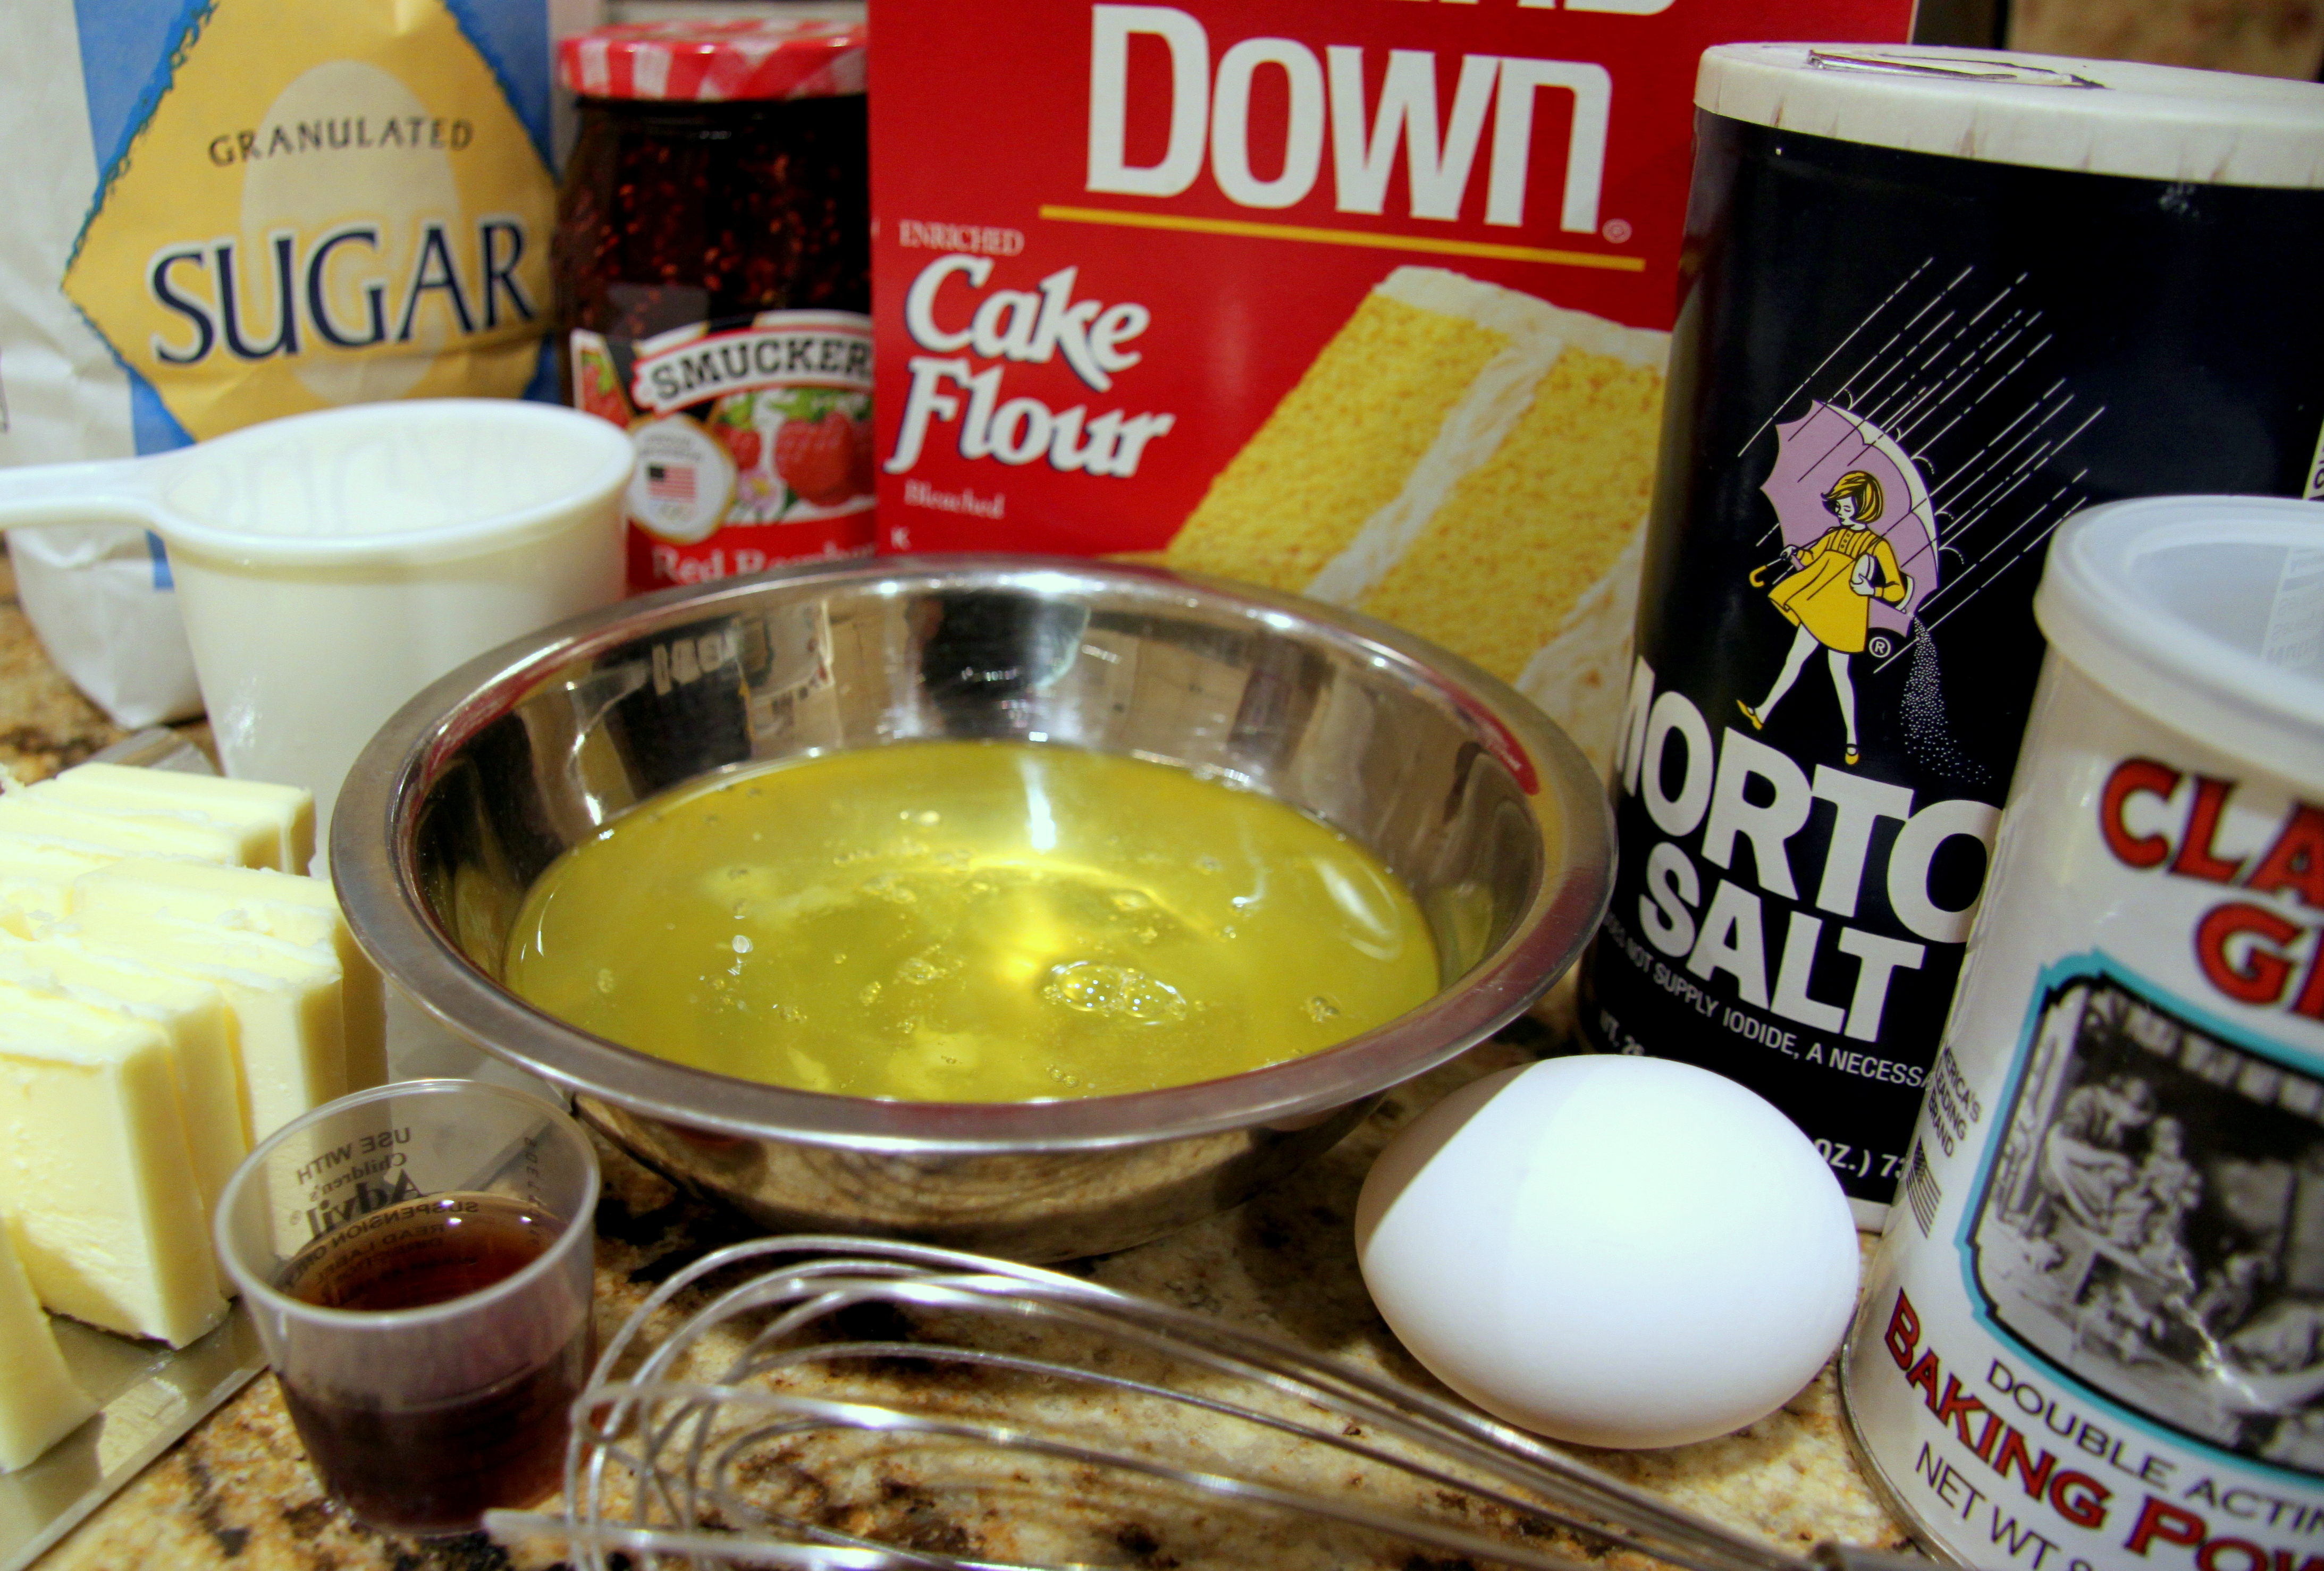
Most of the key ingredients. By the way, I use old medicine cups that came with children’s medicines to pour in extracts. They even have markings on the side.
I followed the recipe from Cook’s Illustrated. Its recipes are proven battle plans for old mechanics that are easy to follow with predictable results.
But they forgot to consider my age and my (poorly) man-equipped kitchen this time. Unthinkable.
This time, two (and a half) things went wrong while making the cake:
1. As I didn’t have a flat beater for my KitchenAid stand mixer, the cake flour/butter mixture couldn’t get “crumbly” enough. I believe this kept the cake from properly rising while baking. (Well, there were three things that went wrong: it was overbaked by a couple of minutes.)
2. I over-whipped the frosting, making it REAL tough to spread… It was worse than cold peanut butter. But it tasted just fine.
And while no fault of the recipe, I ran out of frosting; because the cakes had domed too much, there was a gap around the circumference my belly could have sneaked through. I ended up shoving a LOT of frosting in to fill the gap.
Smuckers raspberry preserves over the almond-buttercream frosting. Spread from the inside to just short of the edge. It’ll squish out.
Since Brooke has gotten hooked on “Cake Boss” (darn fake reality shows), she has become an eleven year old expert on how to frost and decorate cakes. She was “lovingly critical” on how the frosting was being put on…a little after midnight. “Pa-paaah! I told you. You should have cut off the domes. It’s too high now so you’ve got a HUGE gap!” (My oldest, Robyn, is probably snickering to herself, “Haha. Now you know what its like!)
You have no idea how close I was to being fired by the household Cake Boss, let me tell you. But since it was after midnight (yes, she was still up), I would have received double-time.
For a cake stand, I had to improvise. The cake was first placed onto the bottom of a 9″ springform pan. Then that bottom was placed on top of a 9” Pyrex pie dish which was atop a mixing bowl. Complicated. Pain to use. But I did it. Frustratingly. With the Cake Boss still cracking orders to boot.
____________________________
Anyways, the girls ate it. They said it was good. I made sure they said that.
Brooke’s four closest friends.
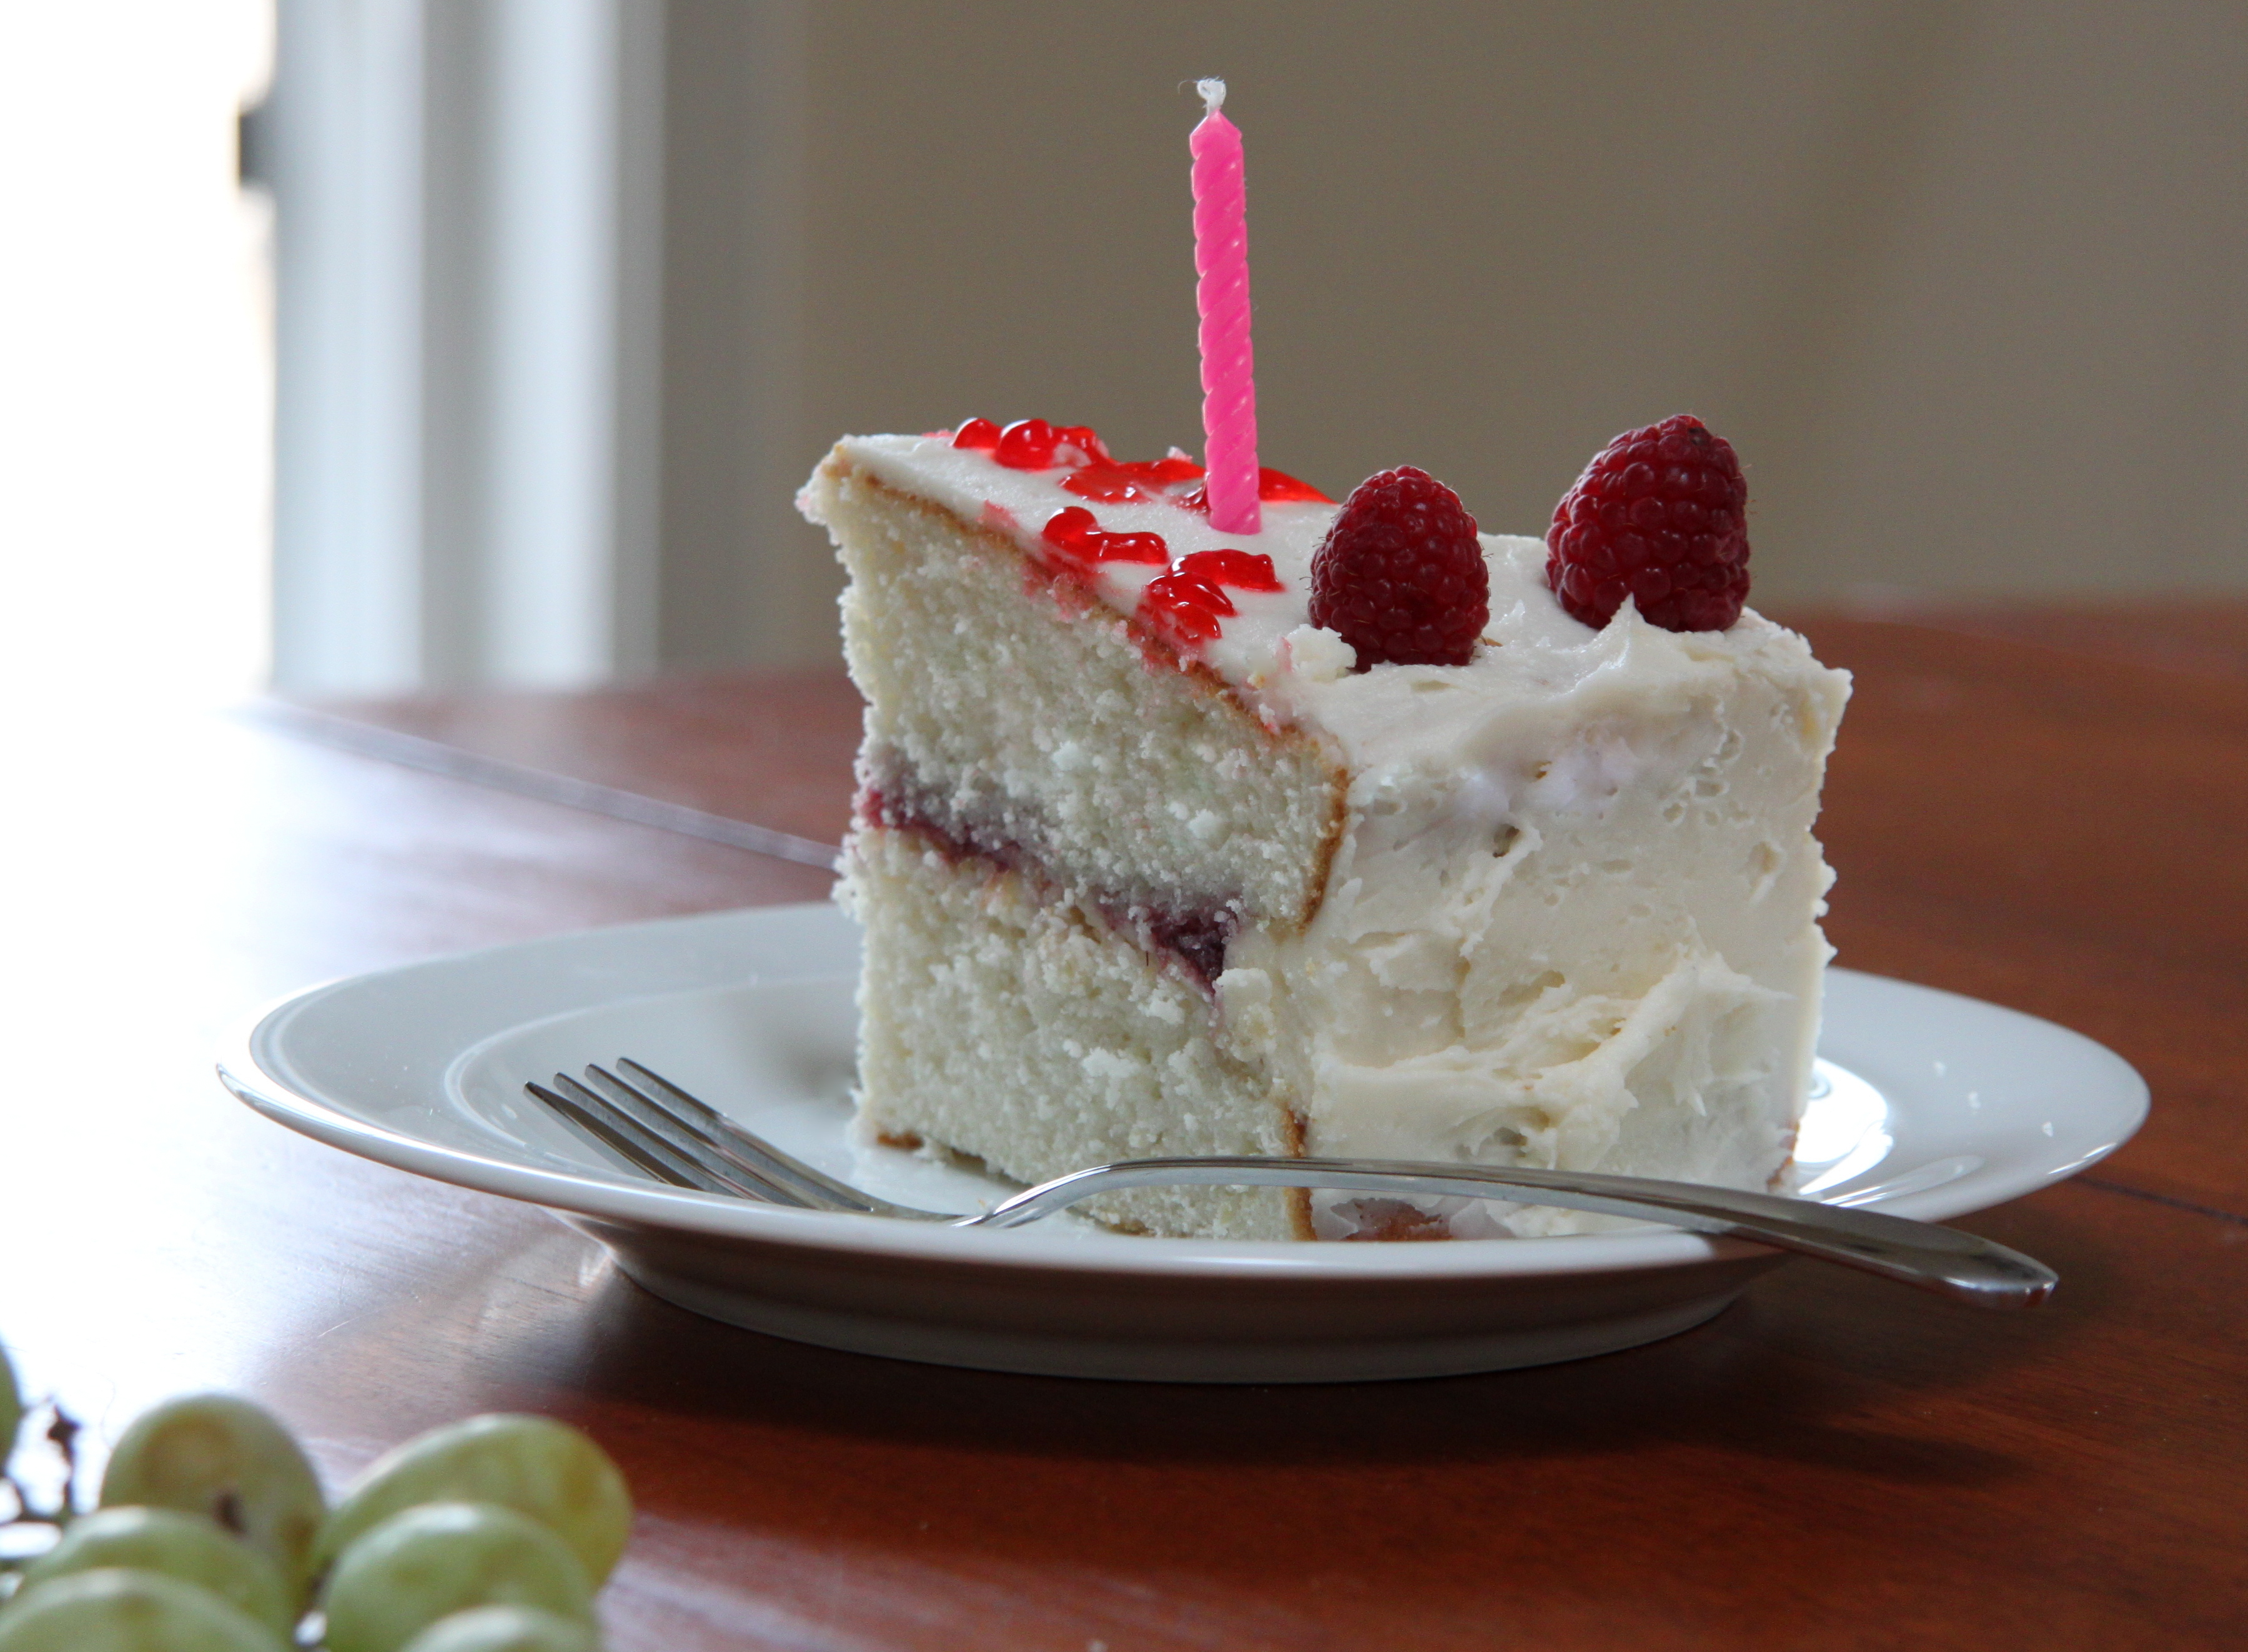
Below, you can see the HUGE gap between the layers I was nearly fired over. Admittedly, the gap (all the way around the cake) measured about an inch:
So now I know better next time. And I did order the right flat beater and a revolving cake stand.
It was surprising when quite a few friends and family let me know they liked Pineapple Upside Down cake. It was as if I was King George and I found out I had a receding heir line. (I know. Lousy pun.)
Even my oldest daughter said she liked pineapple upside down cake – you know, the one who doesn’t like mushrooms or my fabulous Maytag Bleu Cheese salad. LOL
Making a pineapple upside down cake was a challenge. I had not even CUT a pineapple before. Pineapple cores s’mores. A pineapple was also WWII slang for an American grenade. The kind that blows up.
I got the general recipe from Cook’s Illustrated, my Buddhist kitchen bible of sorts. Indeed, I did a sutra chanting before making the first cut into a pineapple.
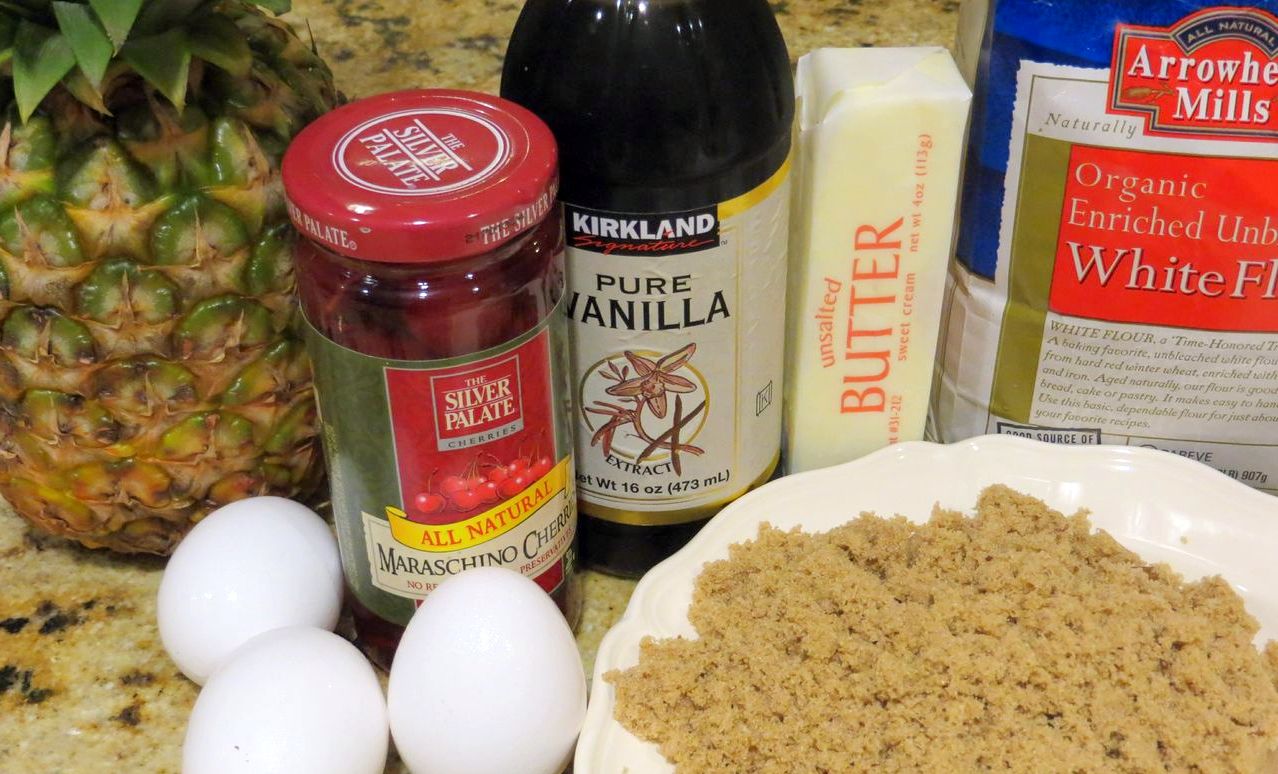
But the ingredients were simple and commonplace – aside from the pineapple:
Brown sugar
Granulated sugar
Maraschino cherries (because a kind and deserving gal wished for it)
Unbleached flour
Unsalted butter
Vanilla extract
Two and a half eggs, and
Salt
_____________________________________
Taking the first slice into pineapple was like a mother going into labor for the first time. Not the pain – the apprehension. Should the cut be made to follow the pineapple shape? Or straight down?
How much of the center do I cut out? I imagined a Dole pineapple slice…
Heck, I cut two pineapples up to get the recommended four cups then threw them onto a skillet with the brown sugar. So far, so good?
Pineapple chunks a-stewing. It was amazing to see how much they shrunk.
The conglomeration was then strained and the sweet smelling liquid was returned to the pan off the heat. The butter and vanilla extract was whisked in.
Butter and vanilla extract added off-heat and before whisking.
Returning to the heat, the concoction was then simmered until the bubbles became “larger”. Talk about ambiguity. 🙂 (Now you ladies know how us logically thinking men feel when you say, “Can’t you see it? It’s the blue car with the thing-a-ma-jig on it.”)
The bubbles got “much larger” than this. 🙂
Every last drop was poured into a 9″ cake pan.
I made the cake batter as per the recipe. Importantly, it recommended two eggs plus the whites only from the third egg. It’s purpose was to help the cake support the weight of the pineapple and molasses-like syrup.
The simmered pineapples were laid into the cake pan and syrup then dotted with the cherries. The batter – which was quite thick – was carefully dropped on the pineapples and smoothed over. I did my best to ensure the batter reached the sides but fell a tad short in some areas. Darn it.
Before heading into the oven. I couldn’t make it to the edge all the way around.
After 45 minutes in a oven preheated to 350F, it was done! During cooling, I took a thin paring knife and carefully separated the cake from the sides.
After ten minutes on a cooling rack, it was time for the showdown: me against gravity. Had to flip the darn thing over without messing it up…which I did before. 🙂
The chanting did me well, I guess. The flipping went flawlessly.
Success – on the flipping part! Not the taste!
So who likes pineapple upside down cake?
We’ll find out today if the cores-smore’s are the Snowden of baking. I hope I cut enough of the core out.
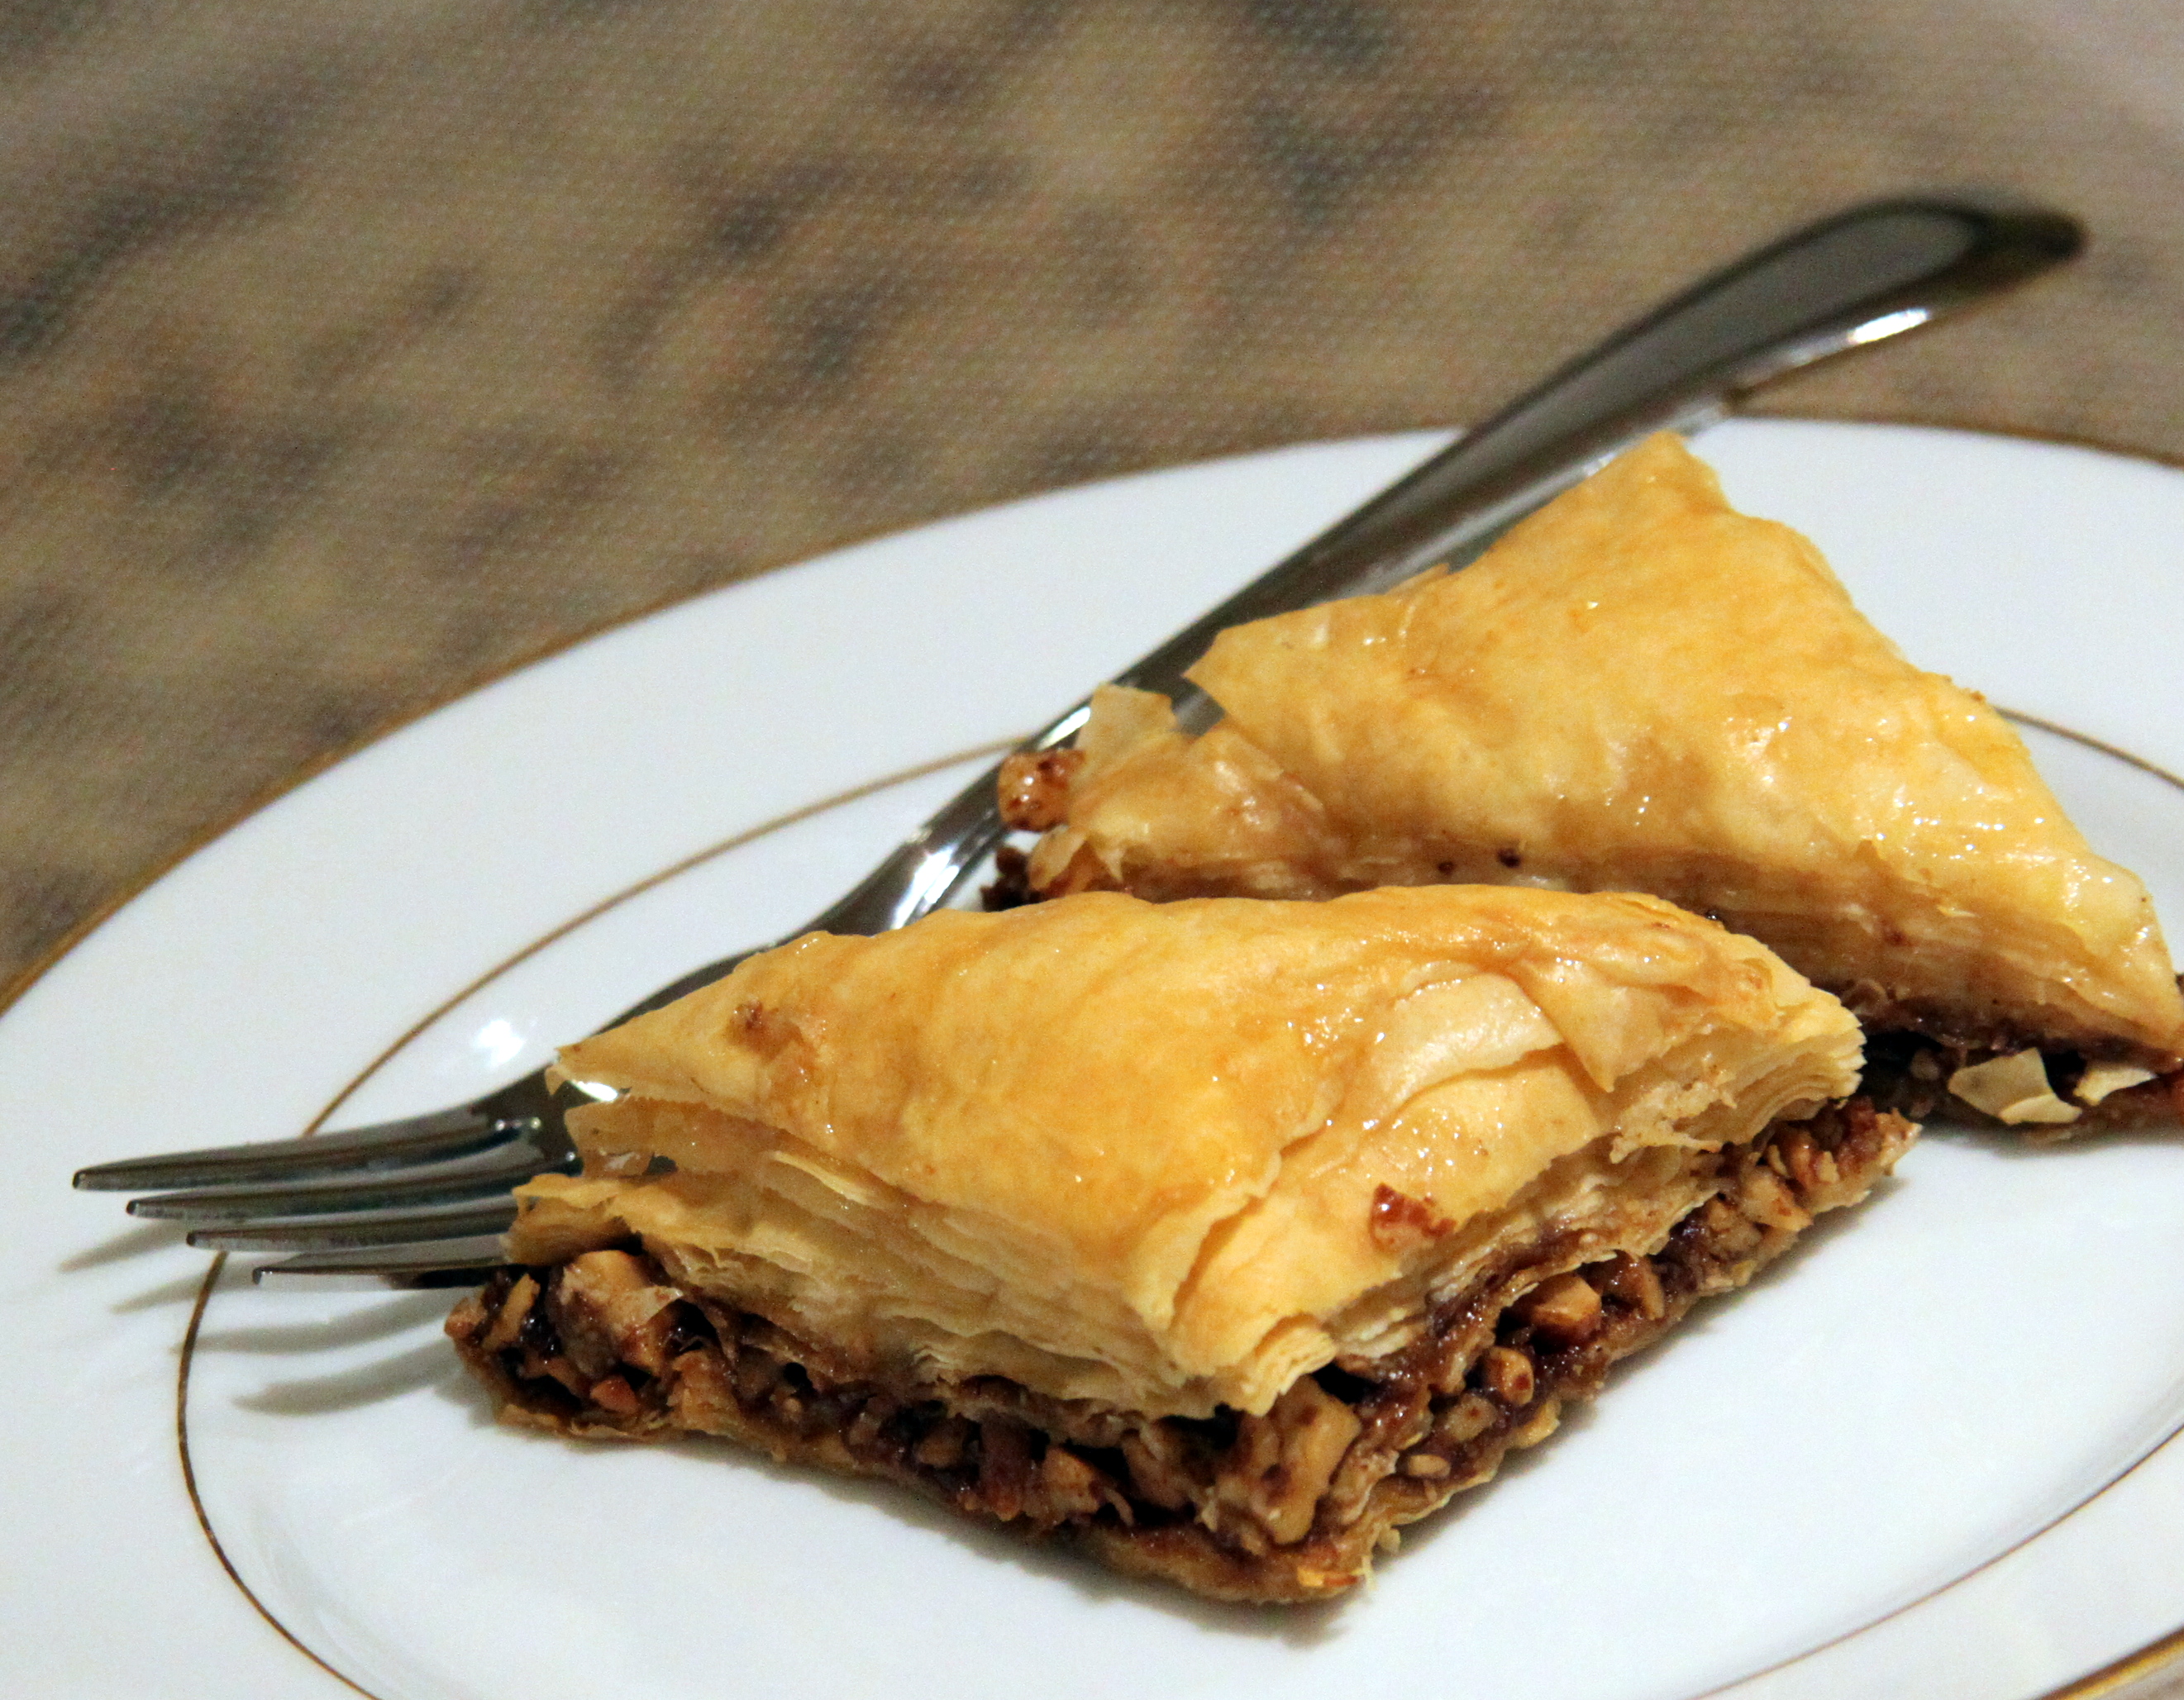
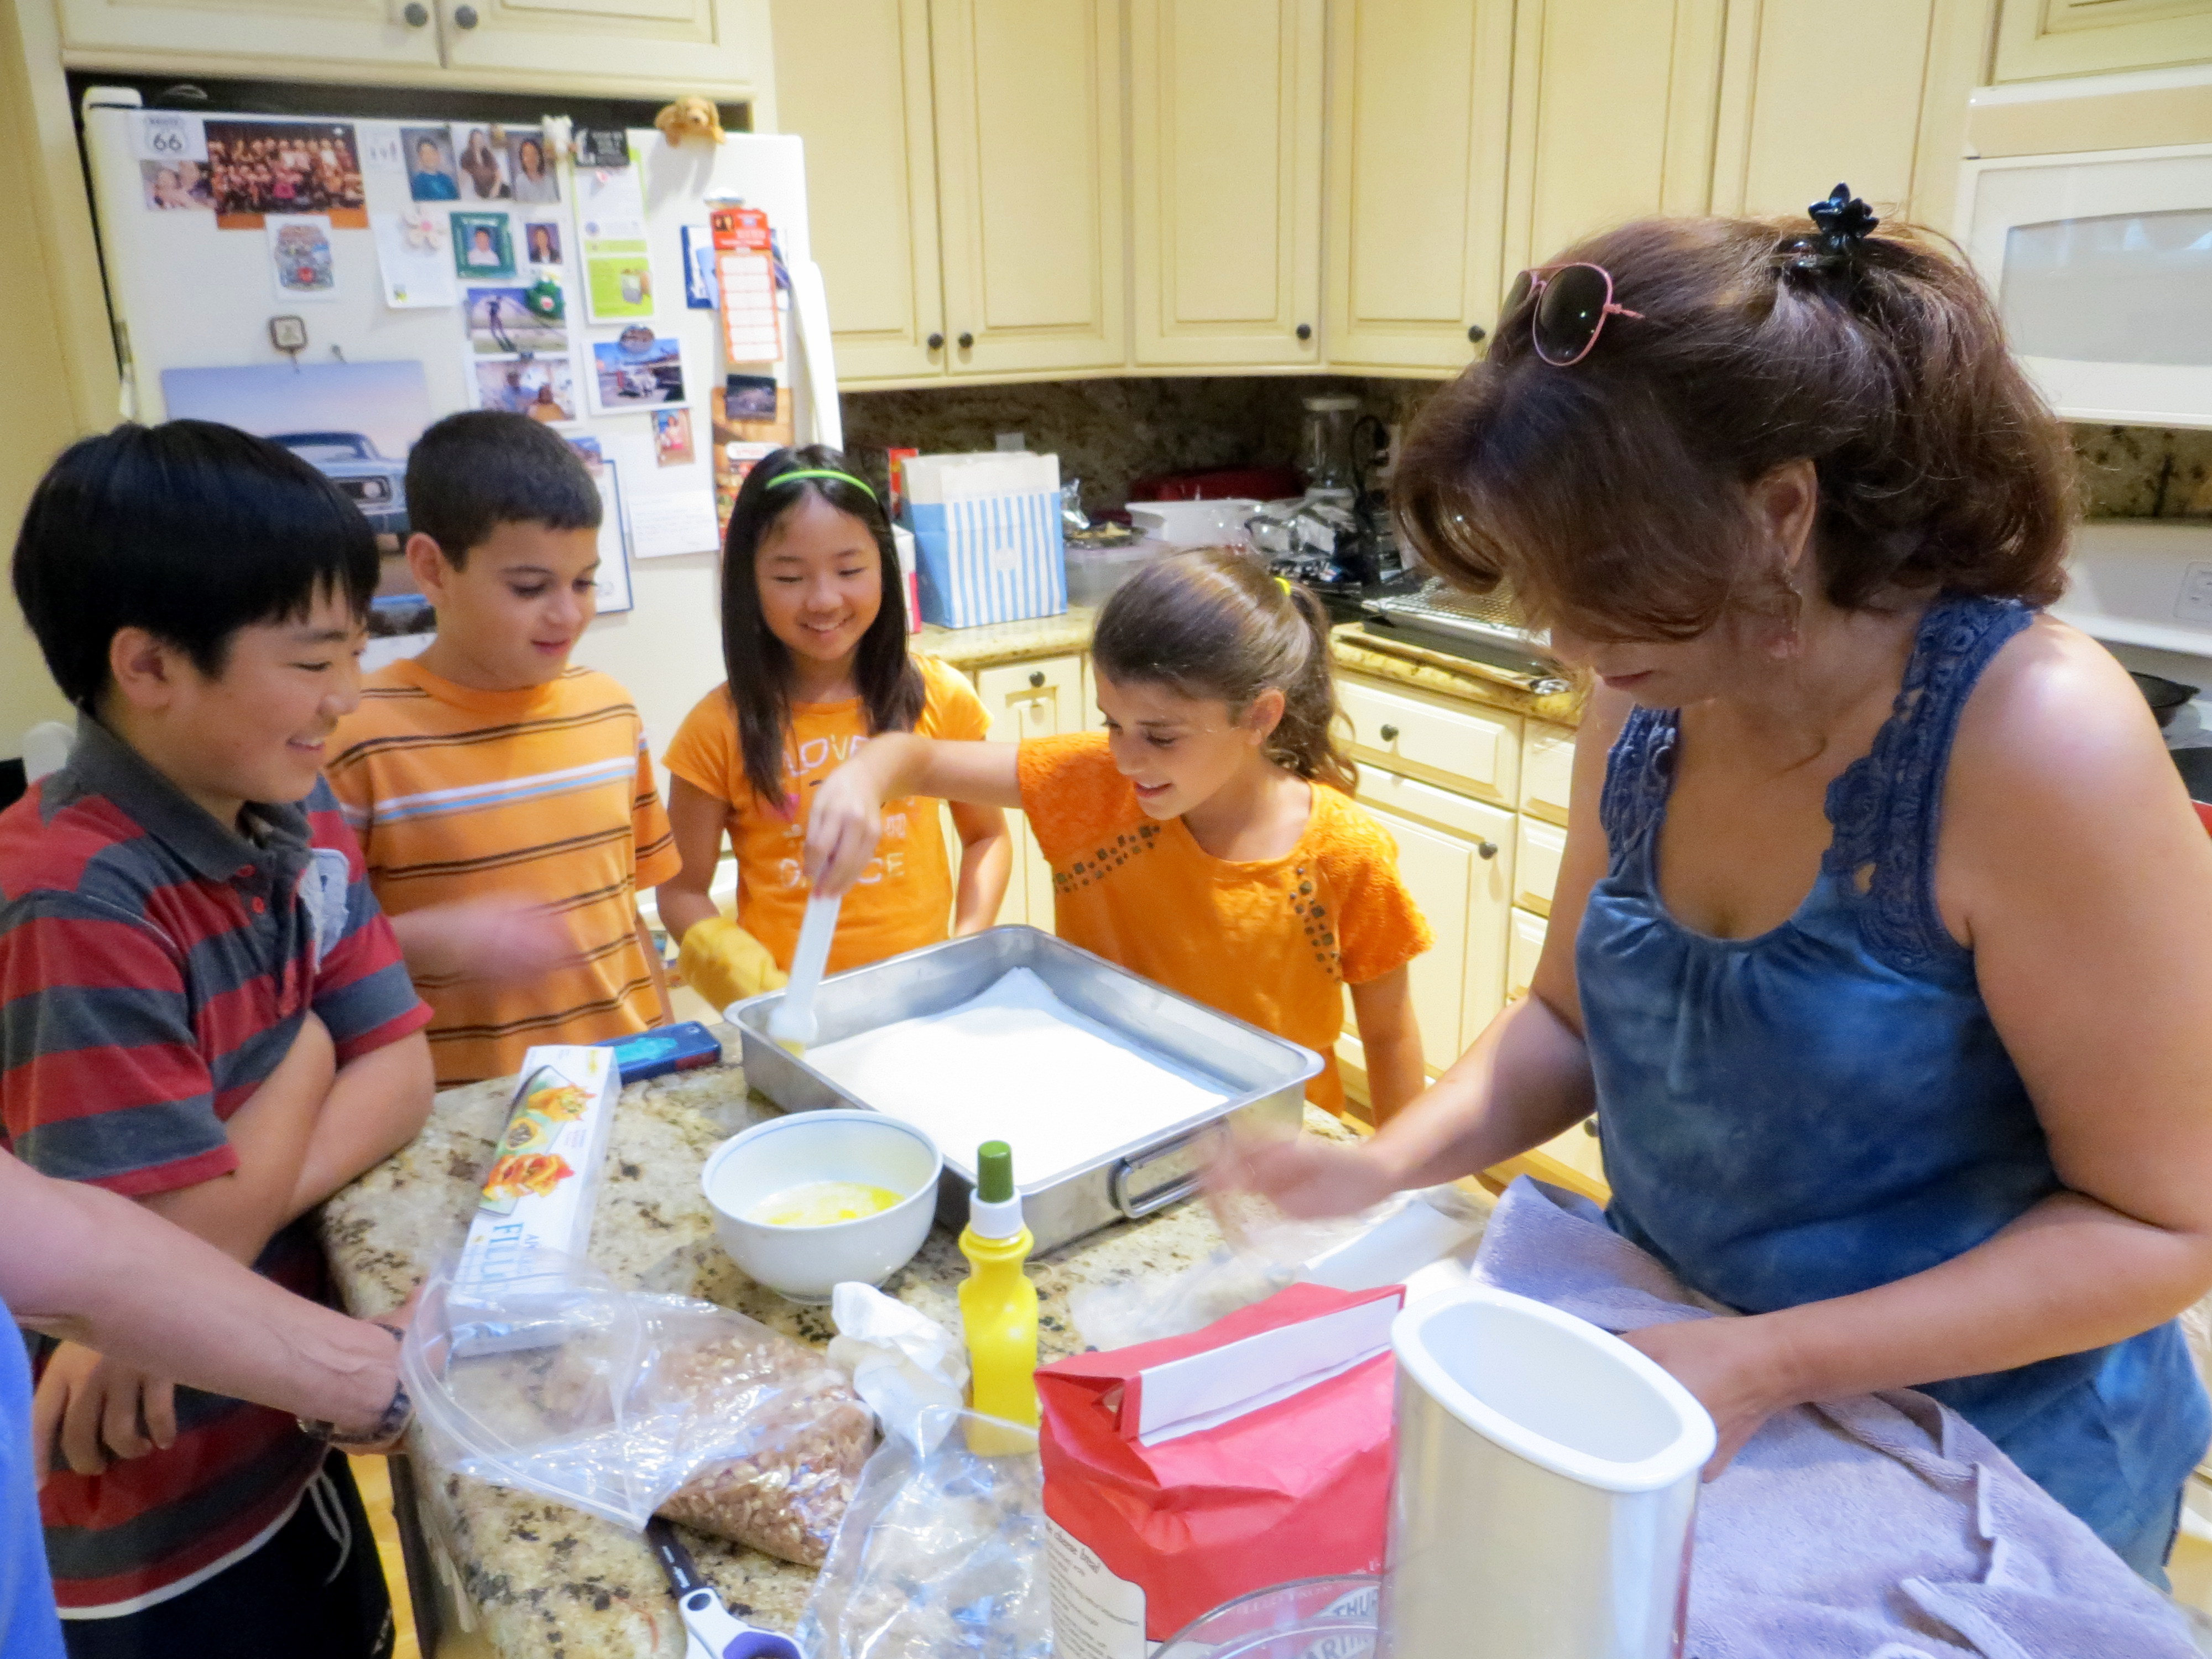
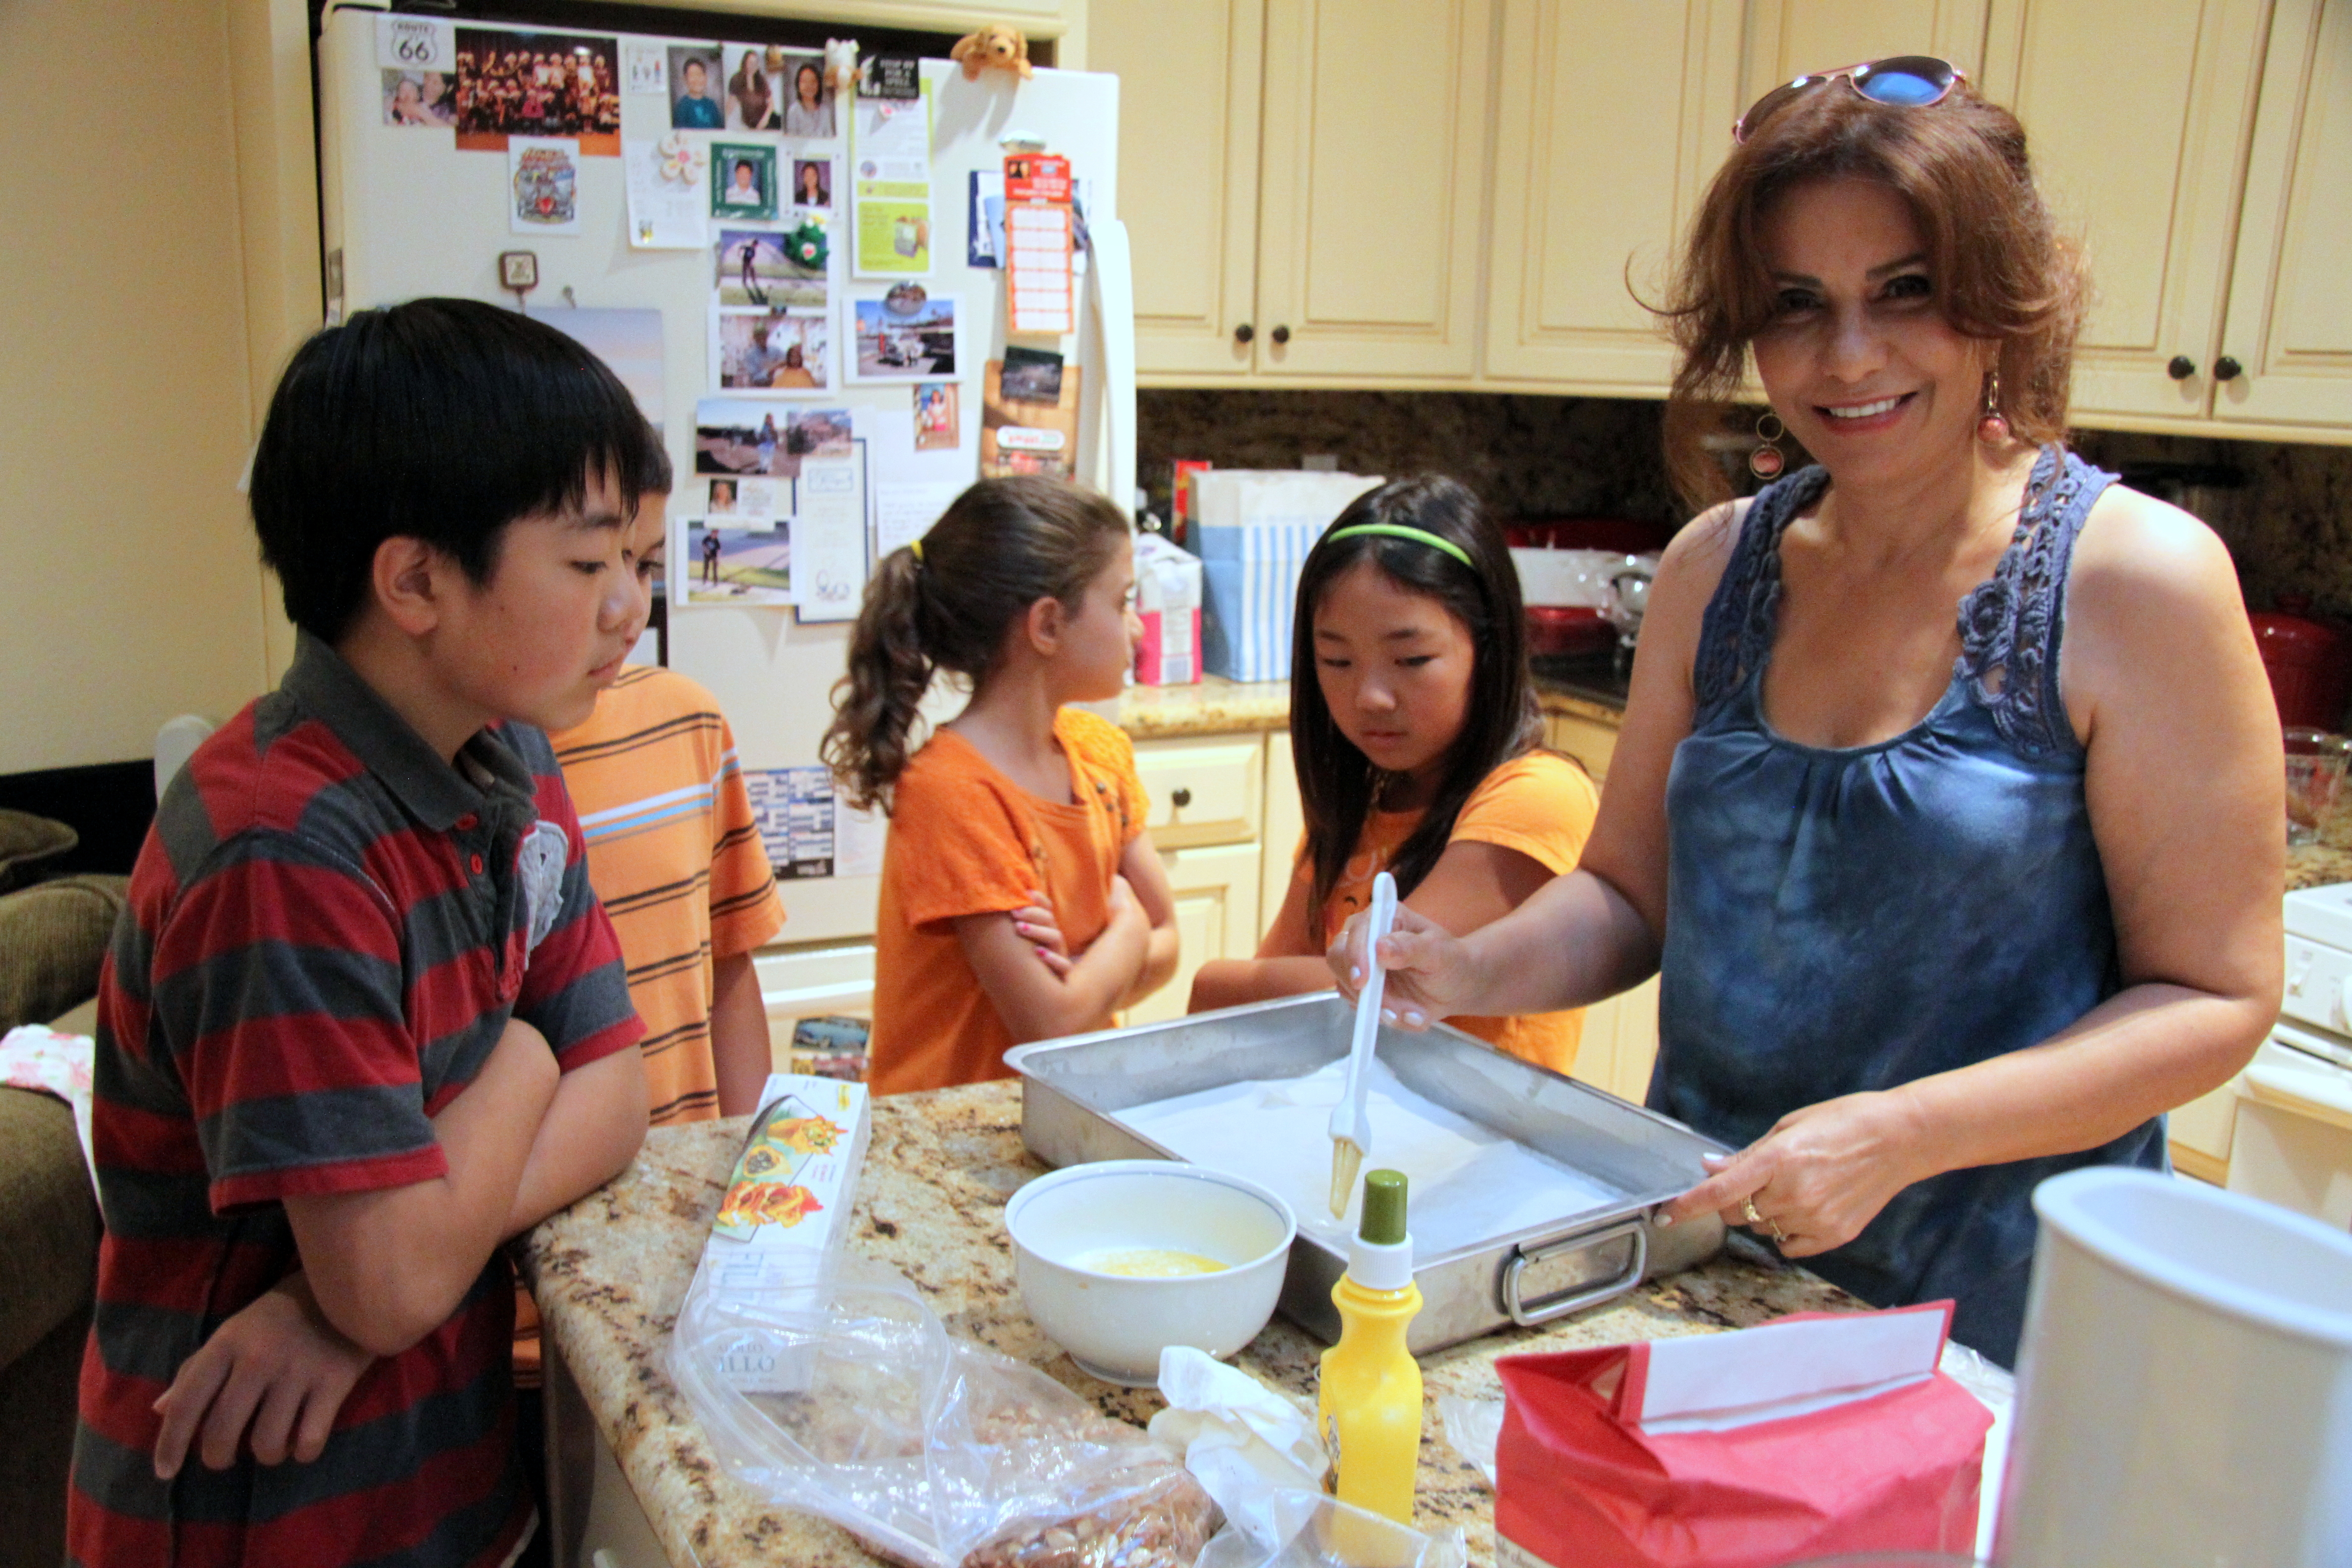
We had a special guest come over and VOILA! A baklava baking party!
My Jordanian lady friend “A” and I made plans for her to stop by and teach us how to make baklava – the authentic Jordanian way. Can’t get more genuine than that, can you?
All the kids were eager to help out, including Jack and Brooke’s good Syrian classmates. It was really great to hear their classmates talk in Arabic with “A”!
Brooke and her friend were responsible for the delicious syrup made out of cinnamon sticks, lime zest, cloves, water and sugar…oh, and honey too. It really turned out fabulous! You know – the girlie touch.
The girlie touch!
Constructing it was quite simple. “A” had brought chopped almonds and walnuts which served as the main yummy part (with the syrup!). She layered sheet after sheet of phyllo dough with unsalted butter brushed in between. Then came the yummy nut filling topped with more phyllo dough.
It was baked in two stages at 350F – 30 minutes at the lowest rack setting then finished off with 30 minutes with the rack raised to the second tier from the top.
Man, it was really starting to smell great while baking… When it was done, “A” carefully cut the baklava into squares, then into the triangles you saw in the first photo. She then slowly drizzled the sweet syrup all over the pastry through a strainer.